Feather Loop Braid

When I first saw feather loop braid, it seems bizarre yet complicated to create. But I got woah when I learned it from my classmate. Woah, I mean, it’s just like that – the procedure. Amazing! Here’s how.
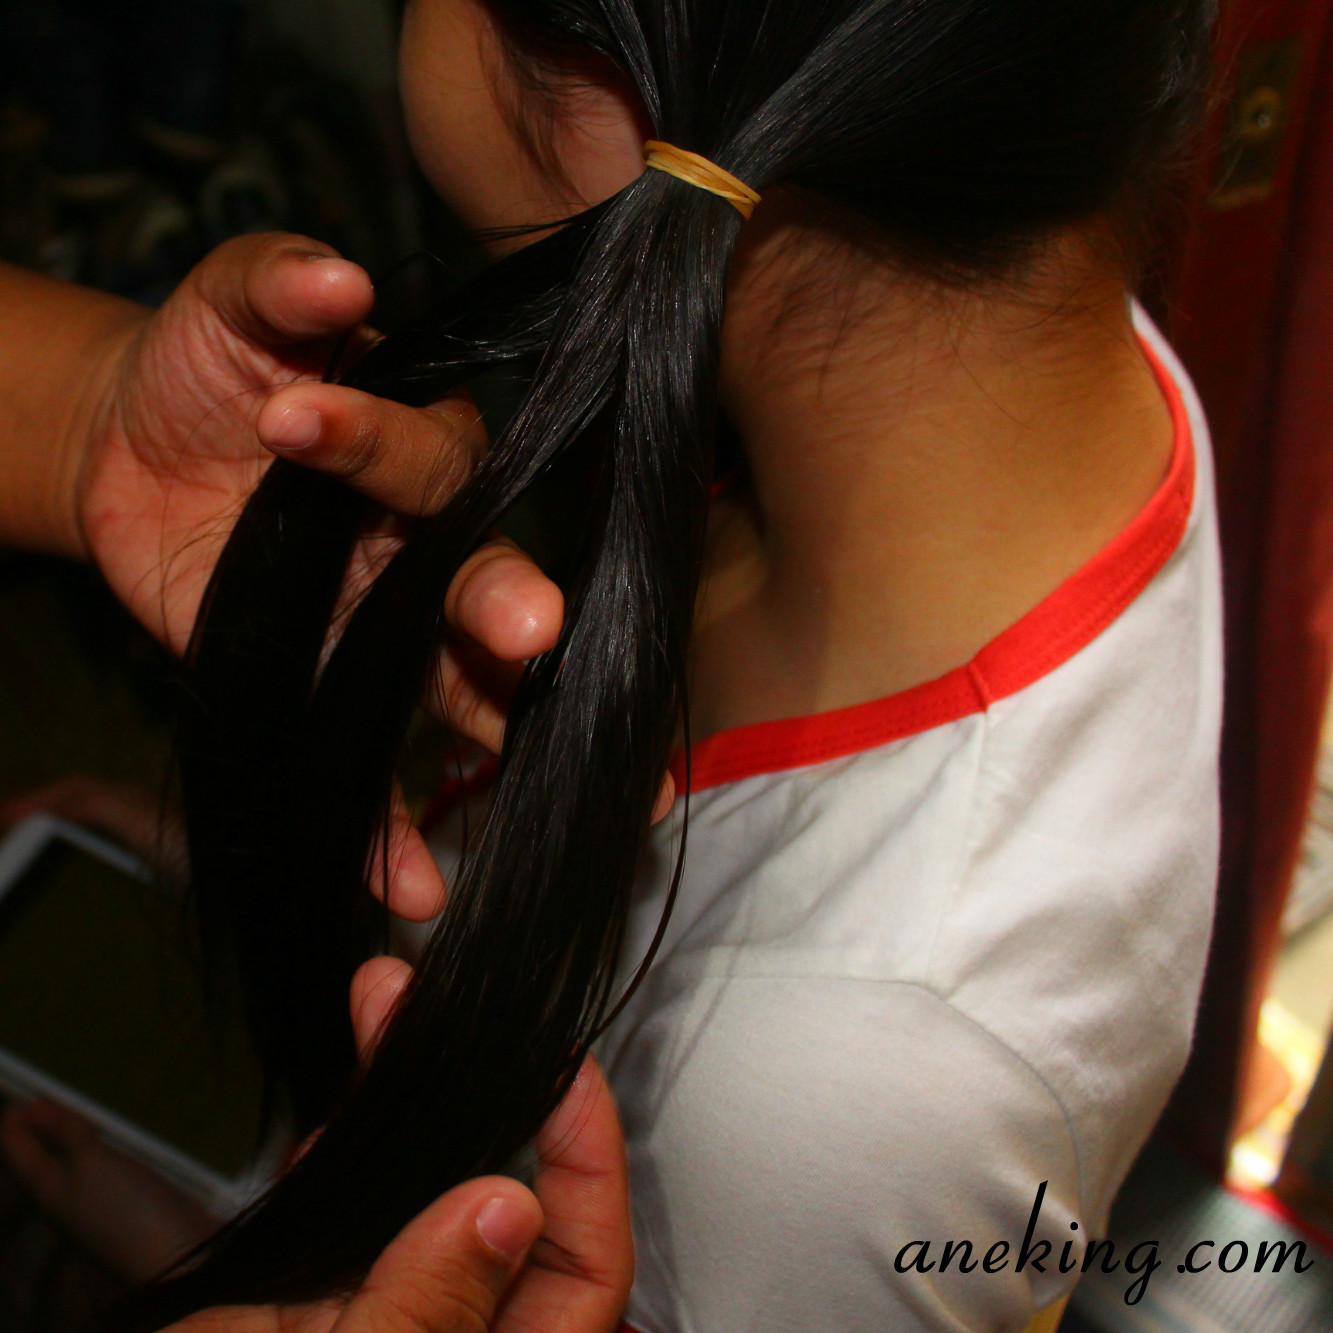
1. Make sure that your hair is damp.

2. Divide the hair into three equal sections.
3. Cross the right strand over the middle.
4. Cross the left strand over the middle.
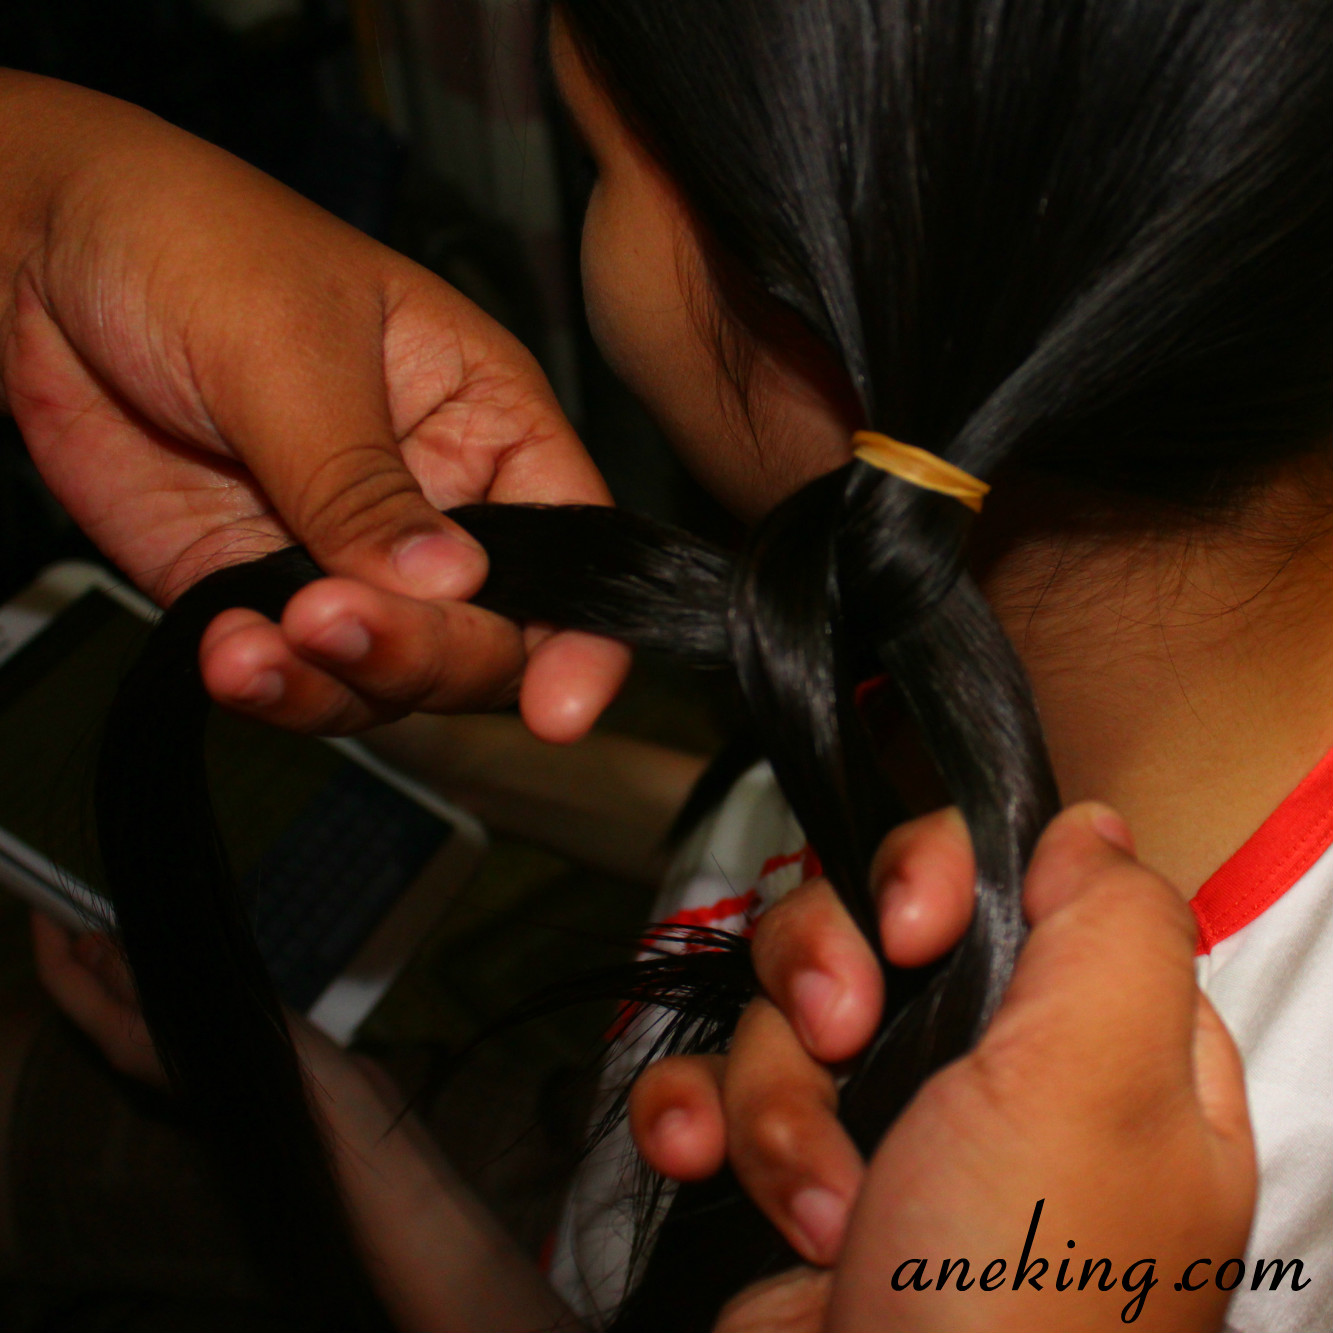
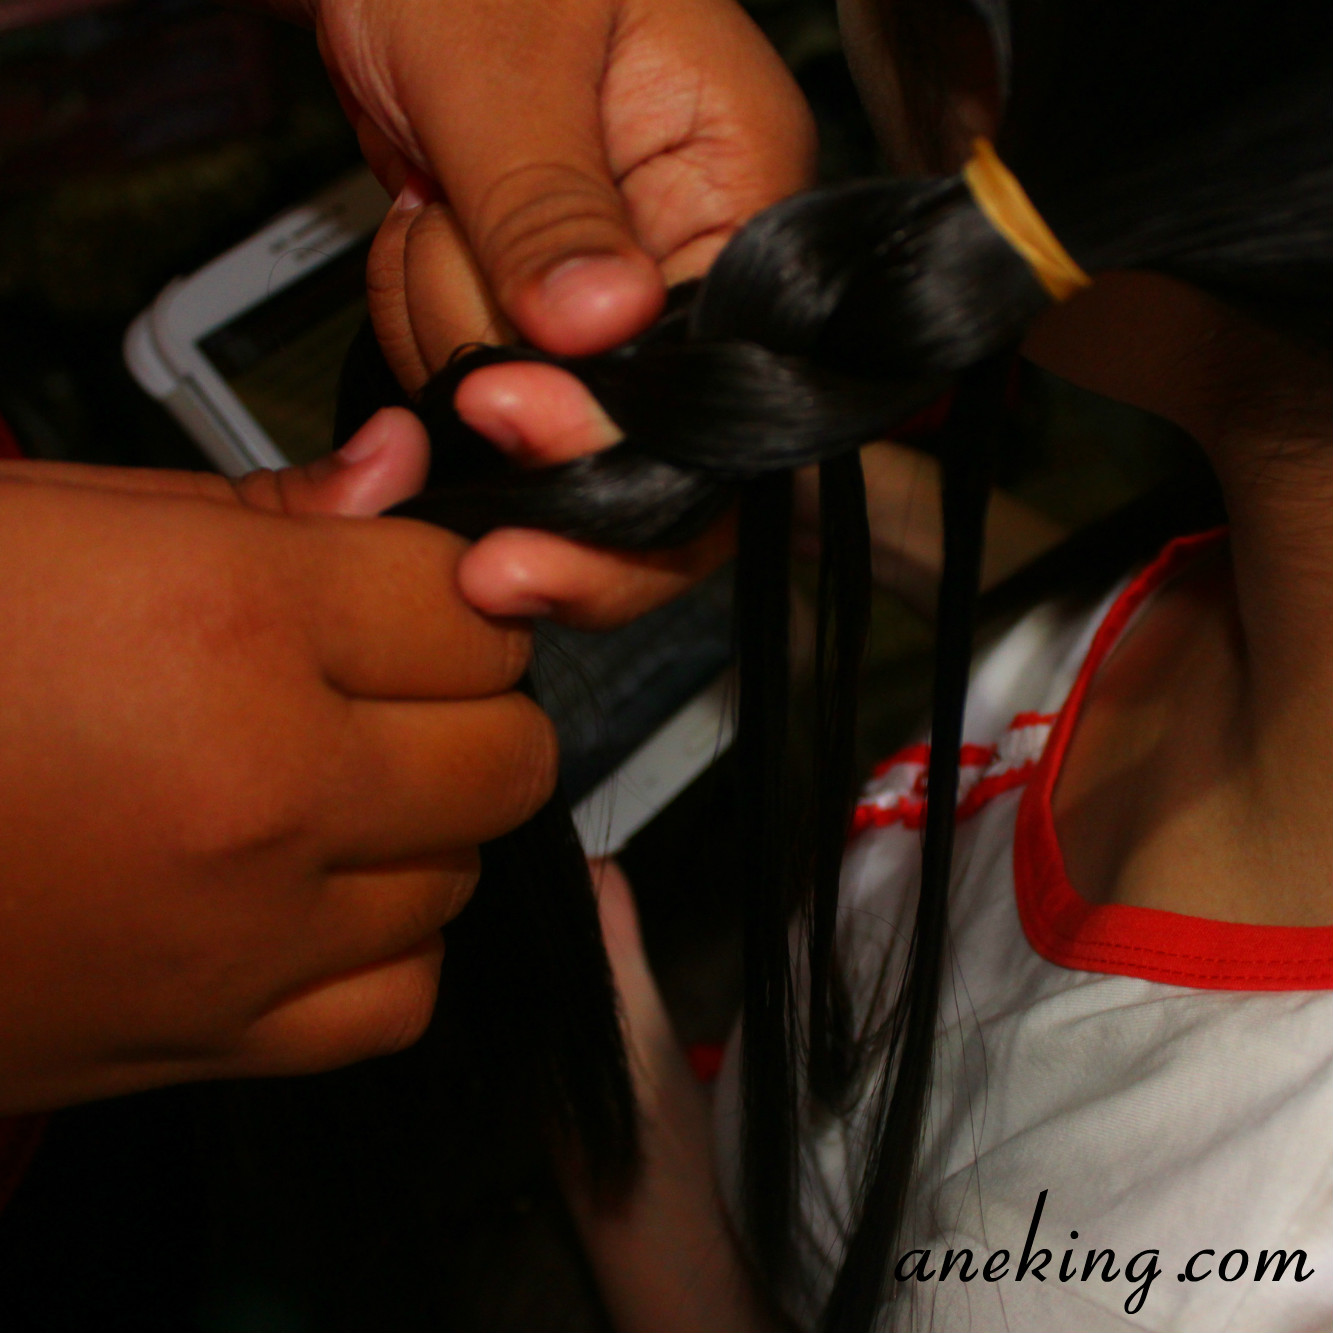
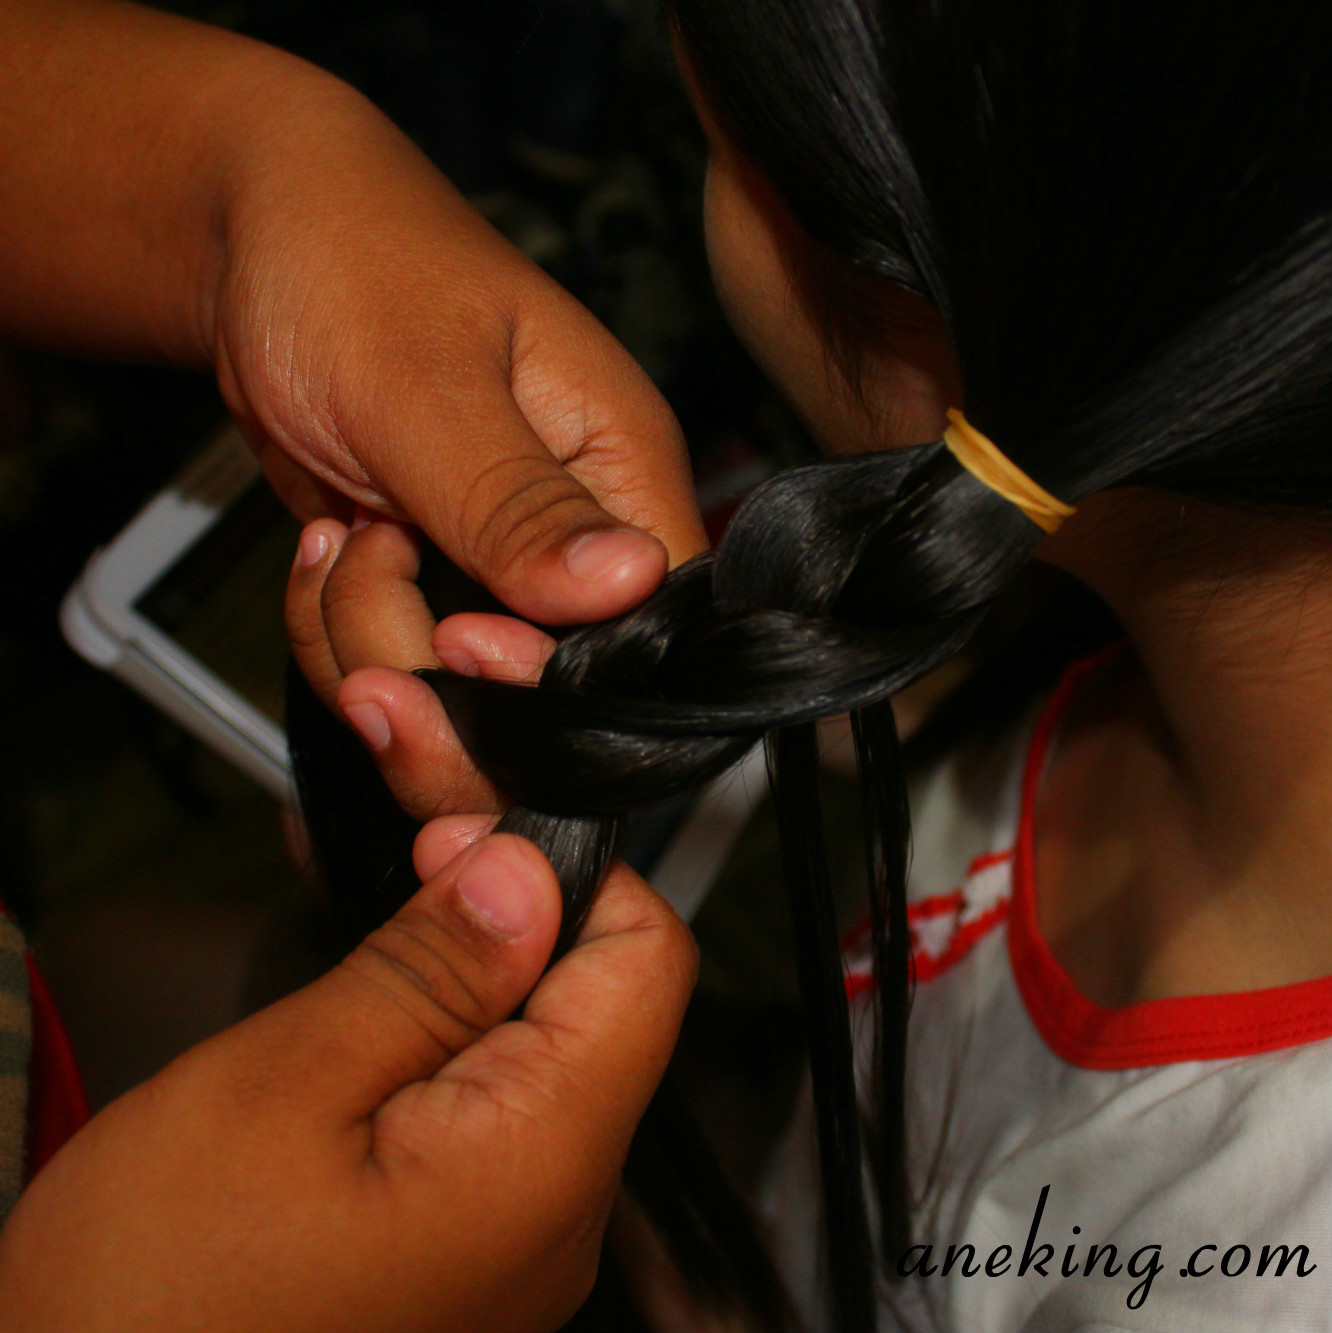
5. Separate a small section of hair from the right.
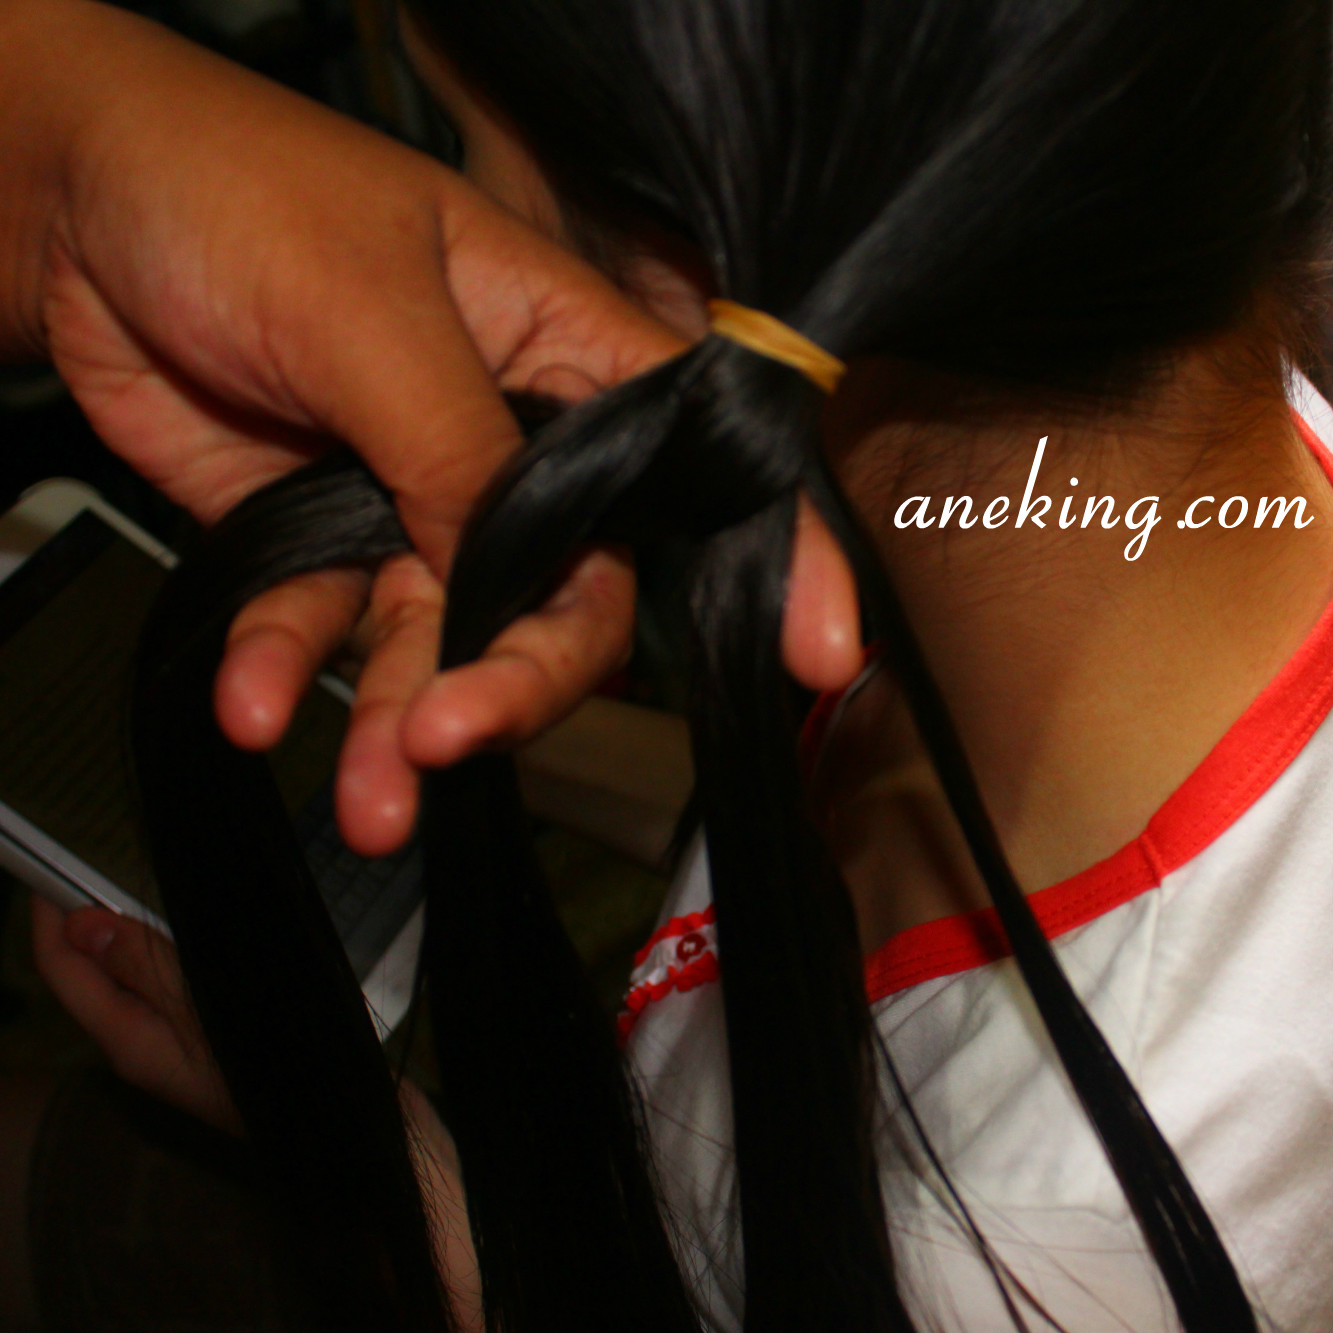
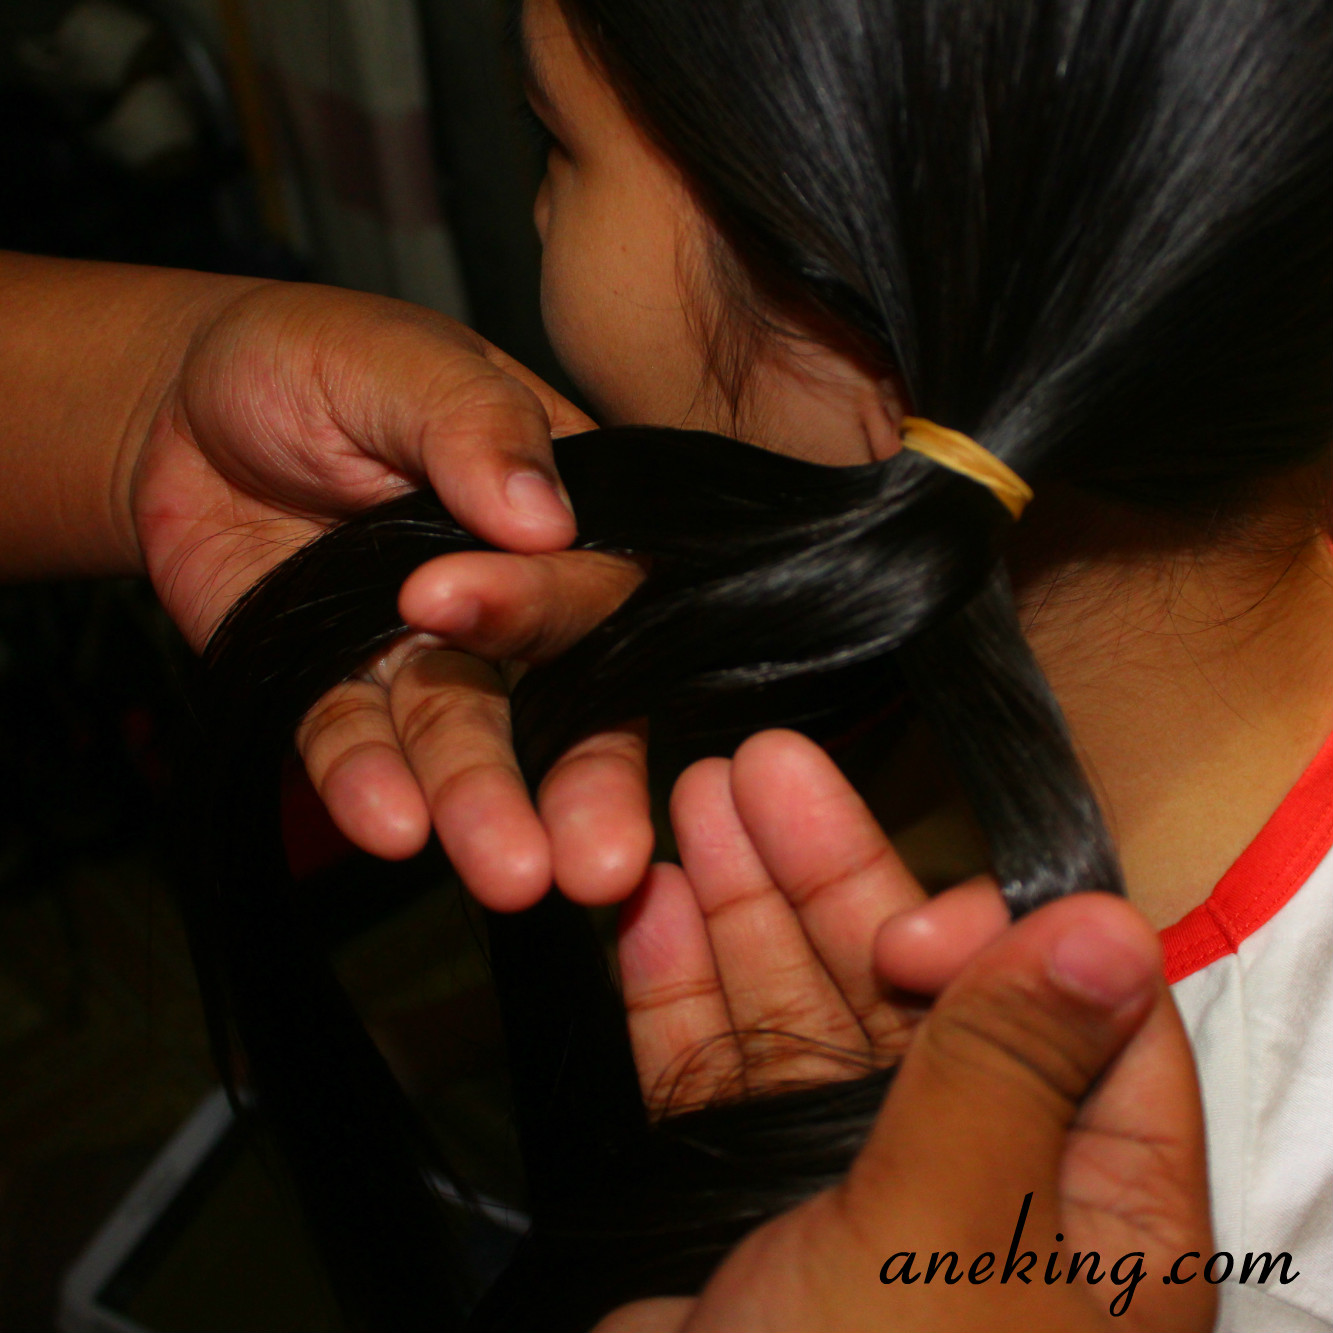
6. Cross the remaining right strand over the middle.
7. Separate a small section of hair from the left.
8. Cross the remaining left strand over the middle.

9. Back from the right side, again, separate a small section of hair.
10. But as you cross the remaining right strand over the middle, add the first strand you left out.
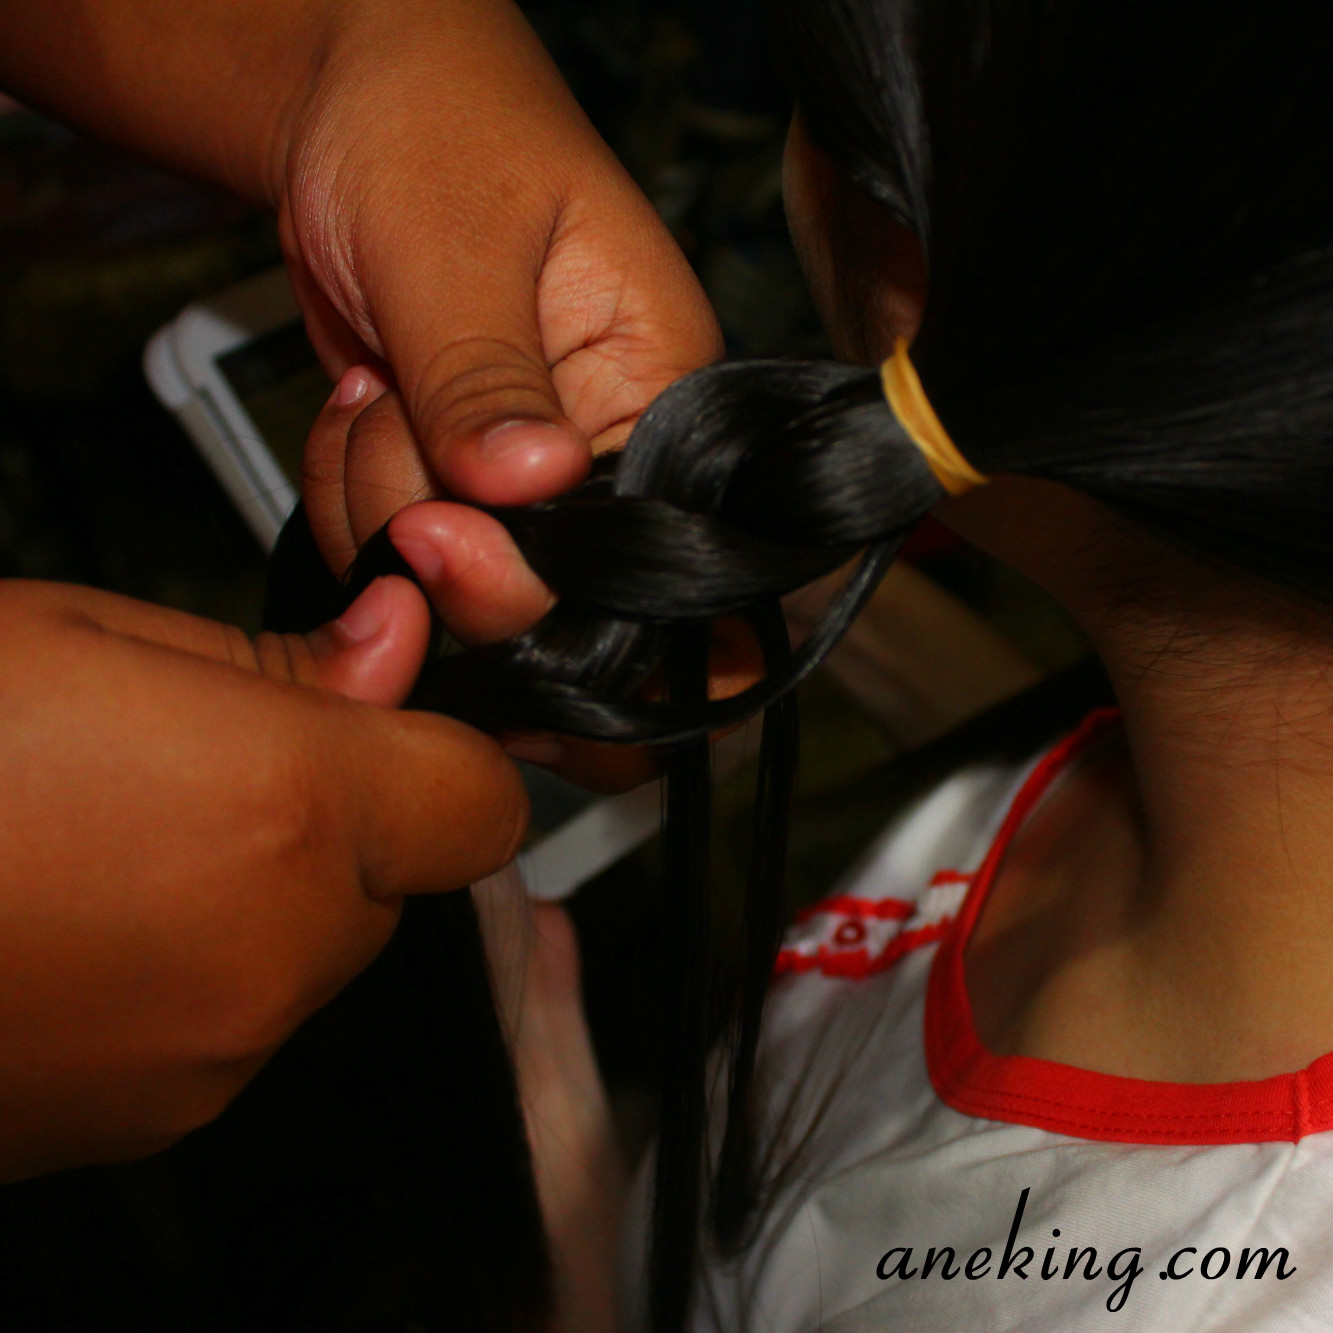
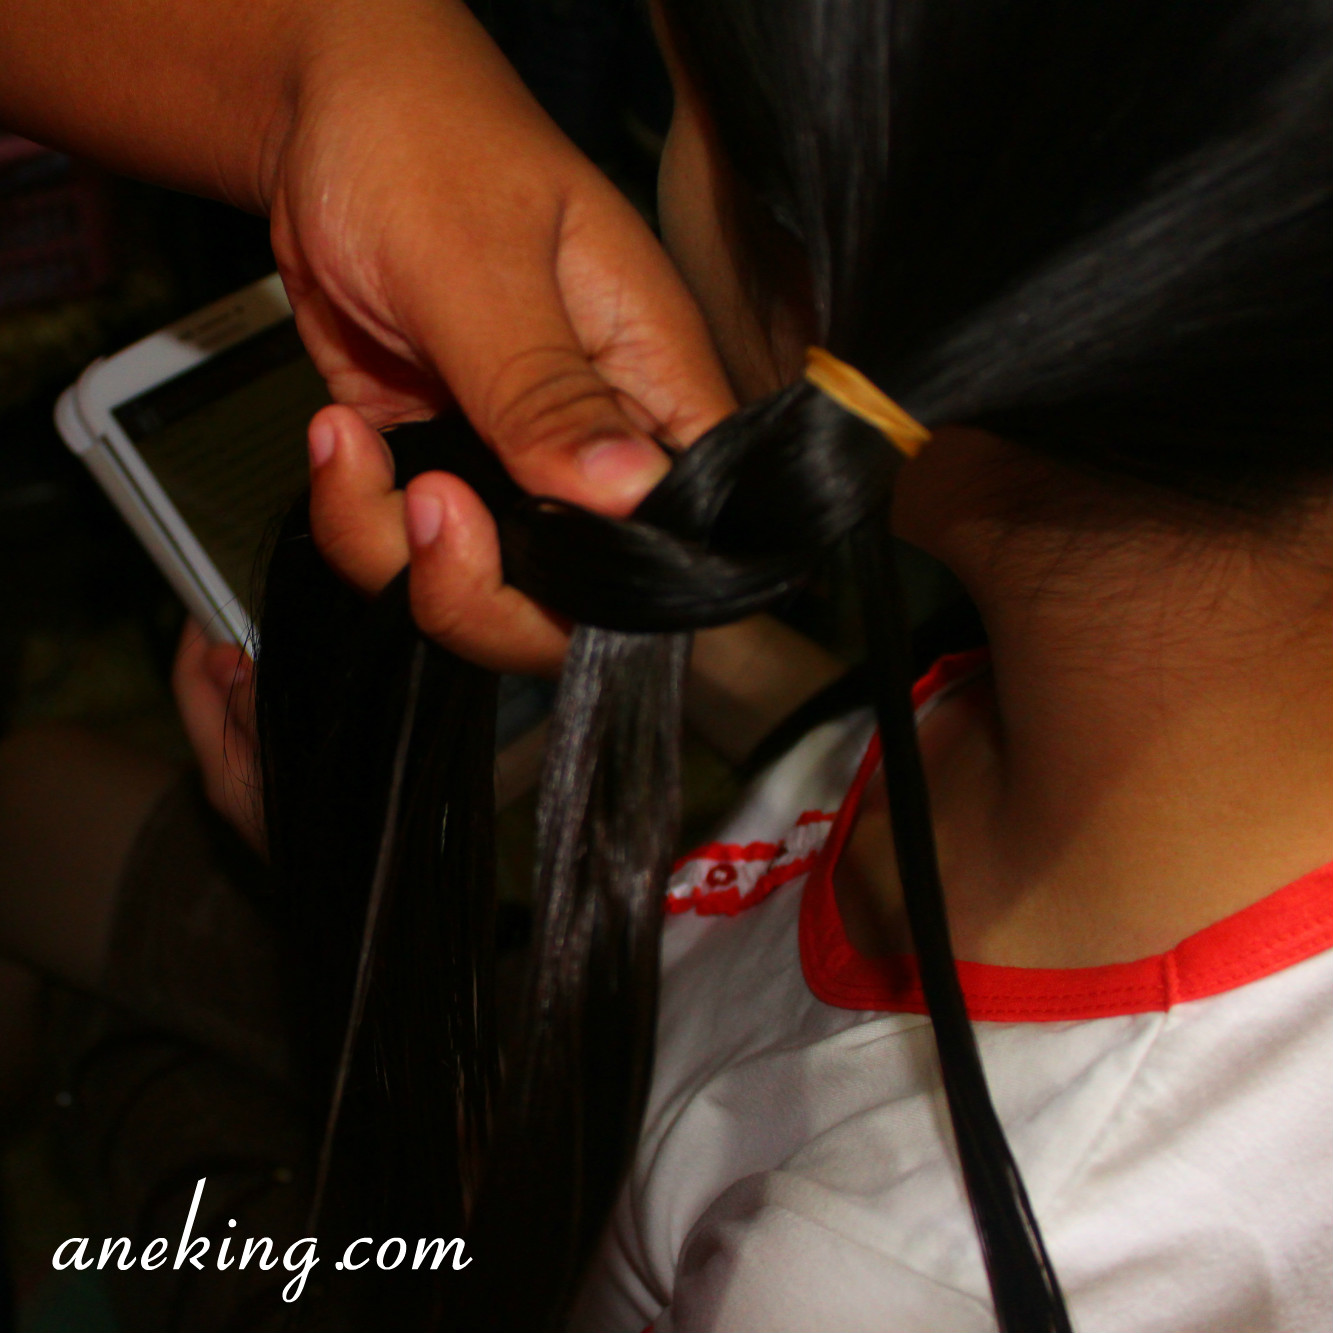
11. On the left side, again, take some hair out of the left strand.
12. Add the strand you left out previously as you cross the left strand over the middle.
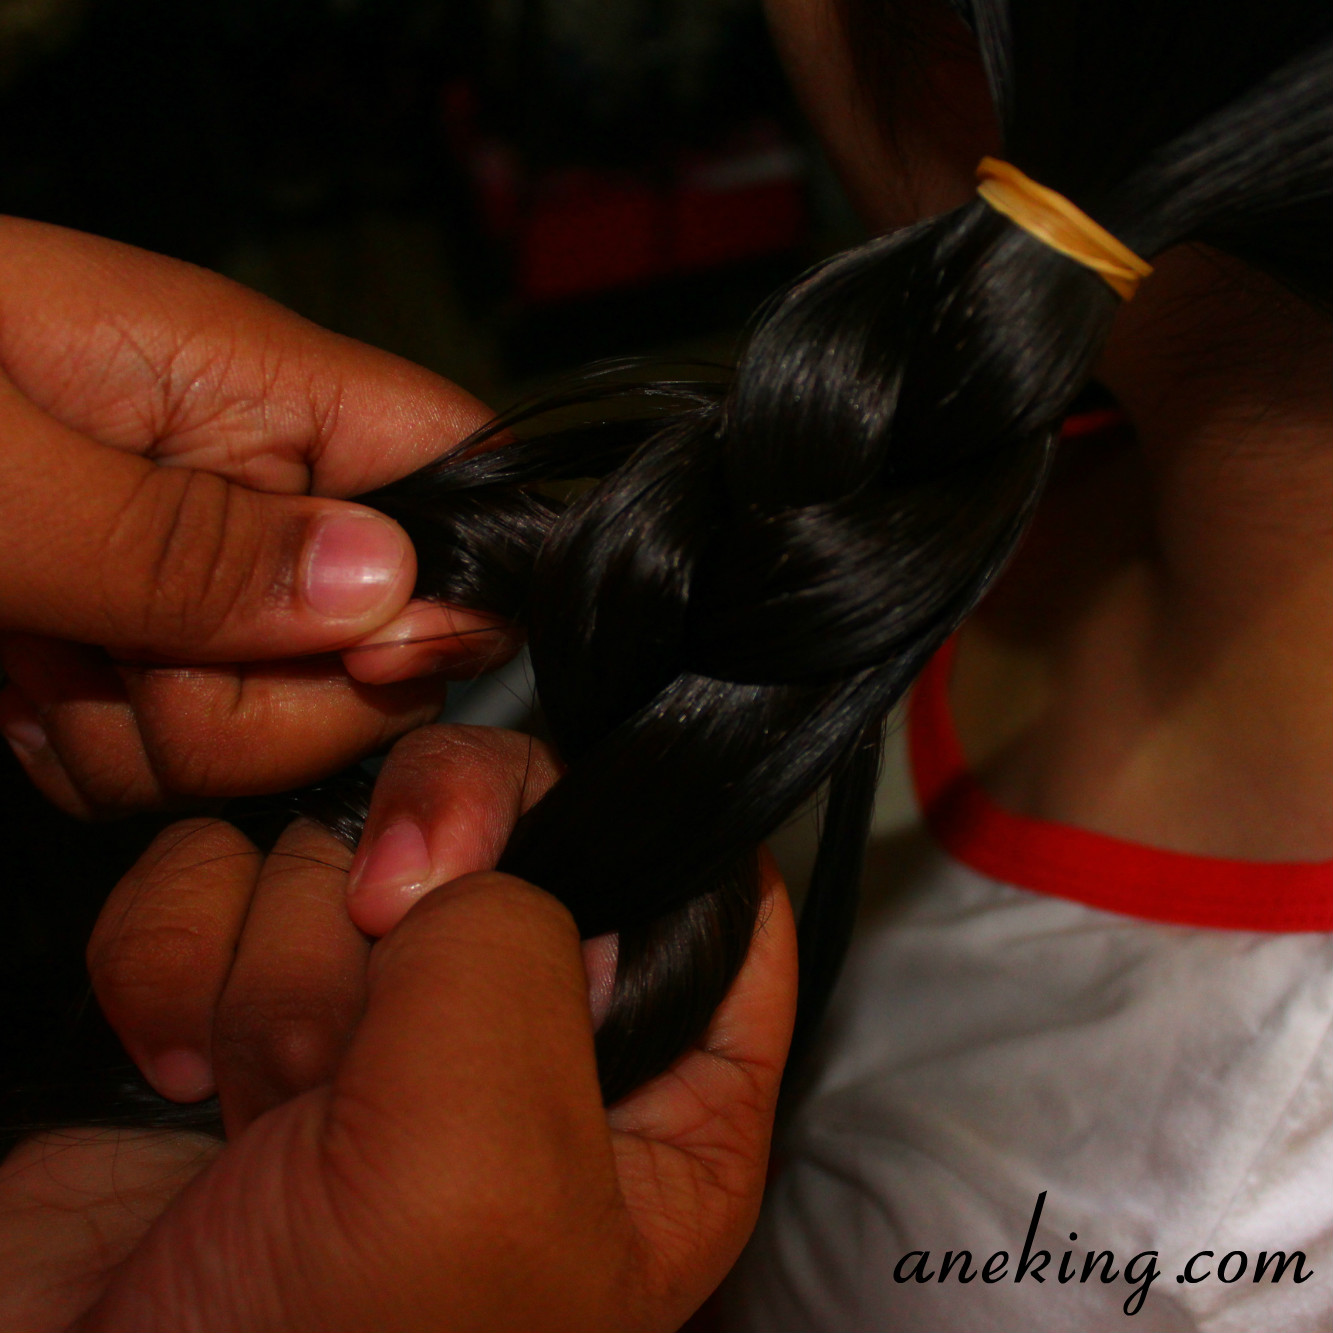
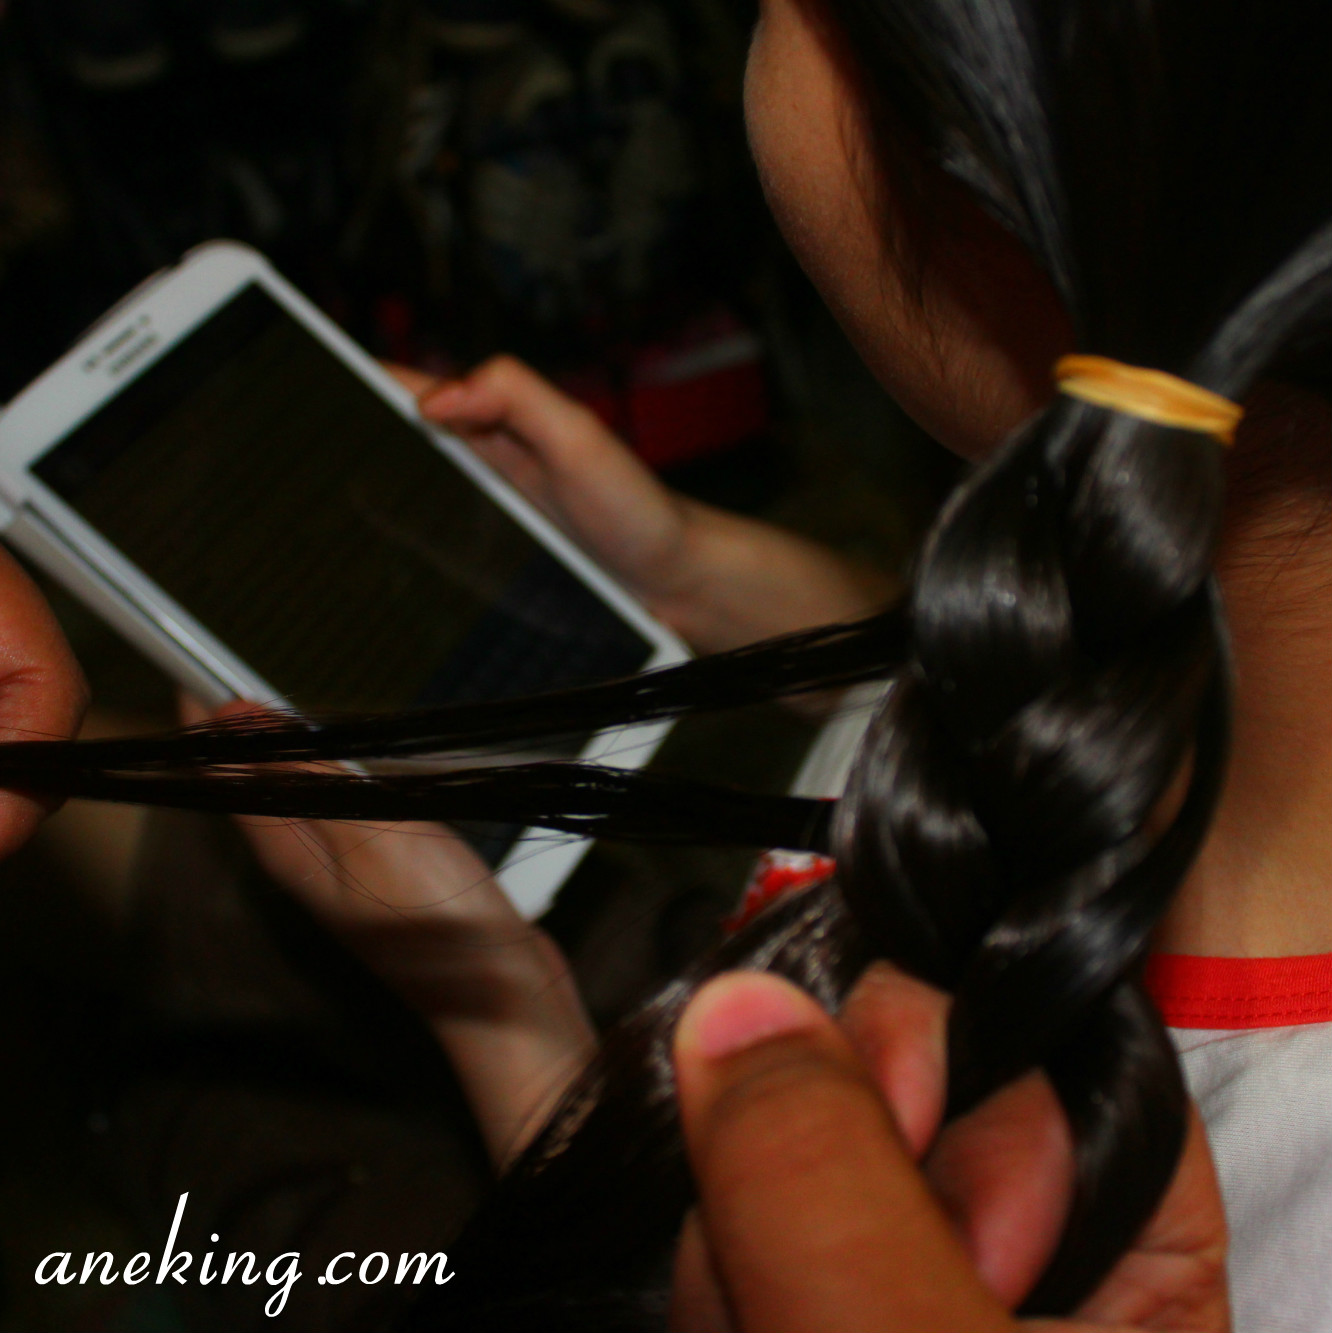
13. Repeat the procedure on the right side.
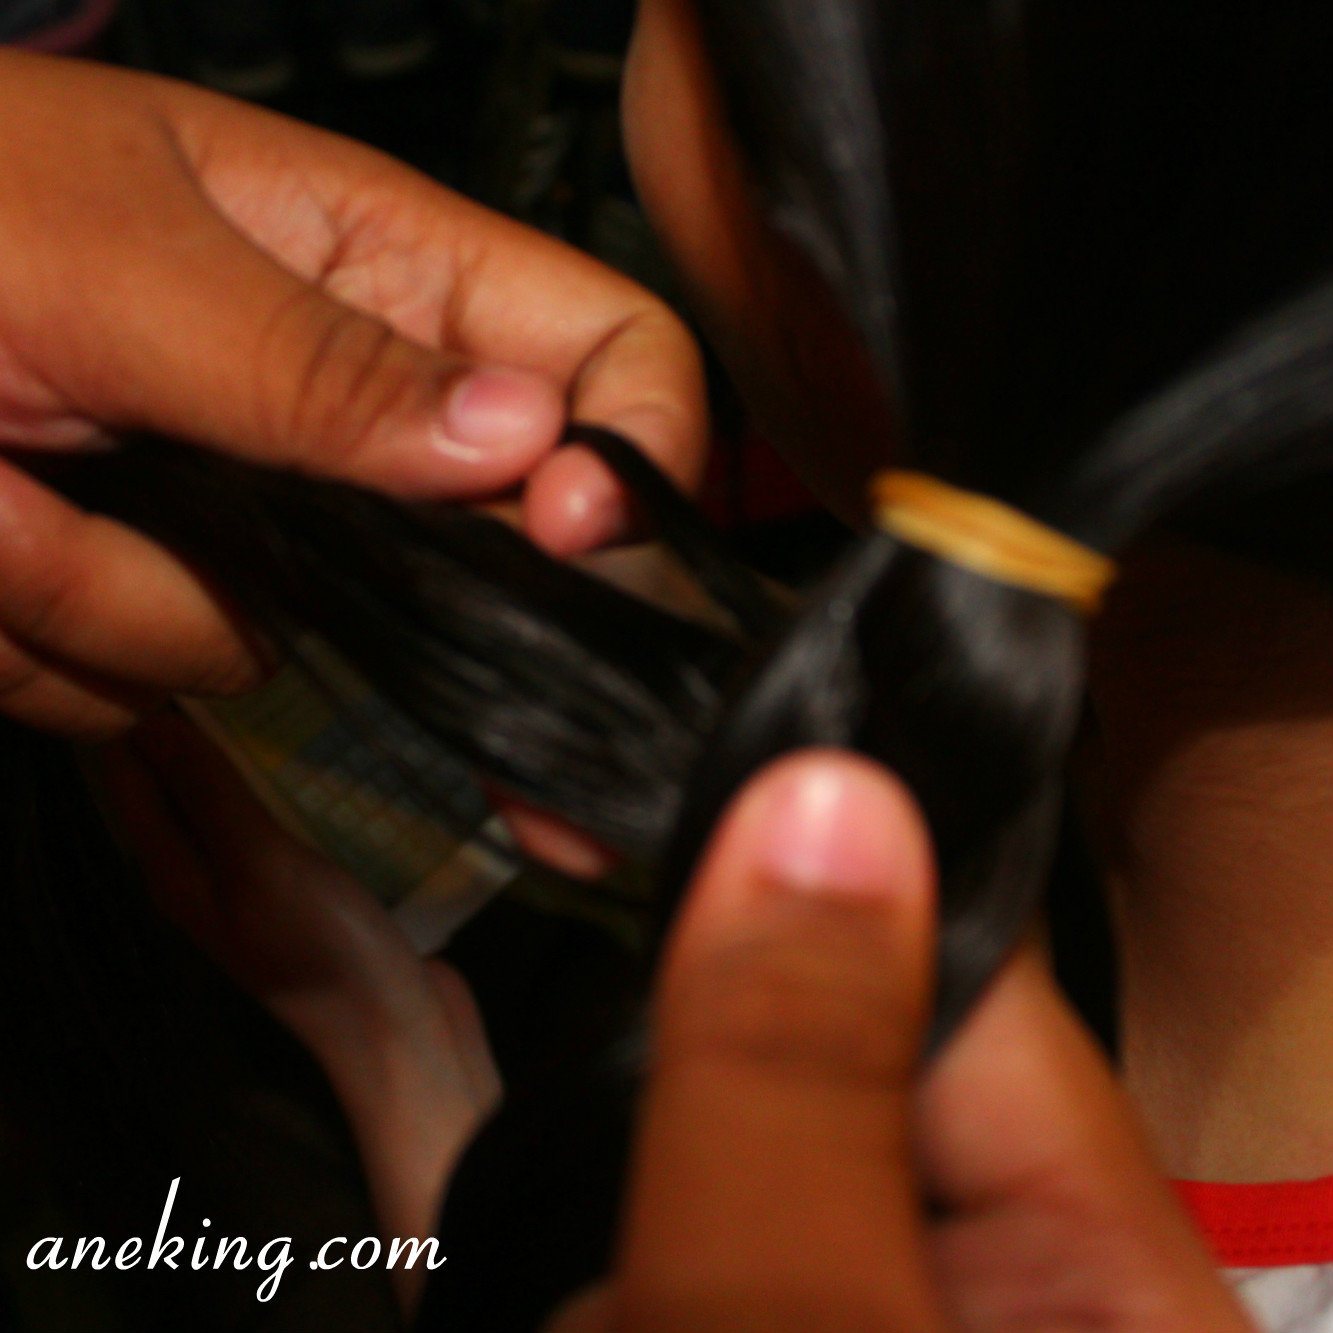
14. At this point, you can pull up the little strand you made to give that feather look.
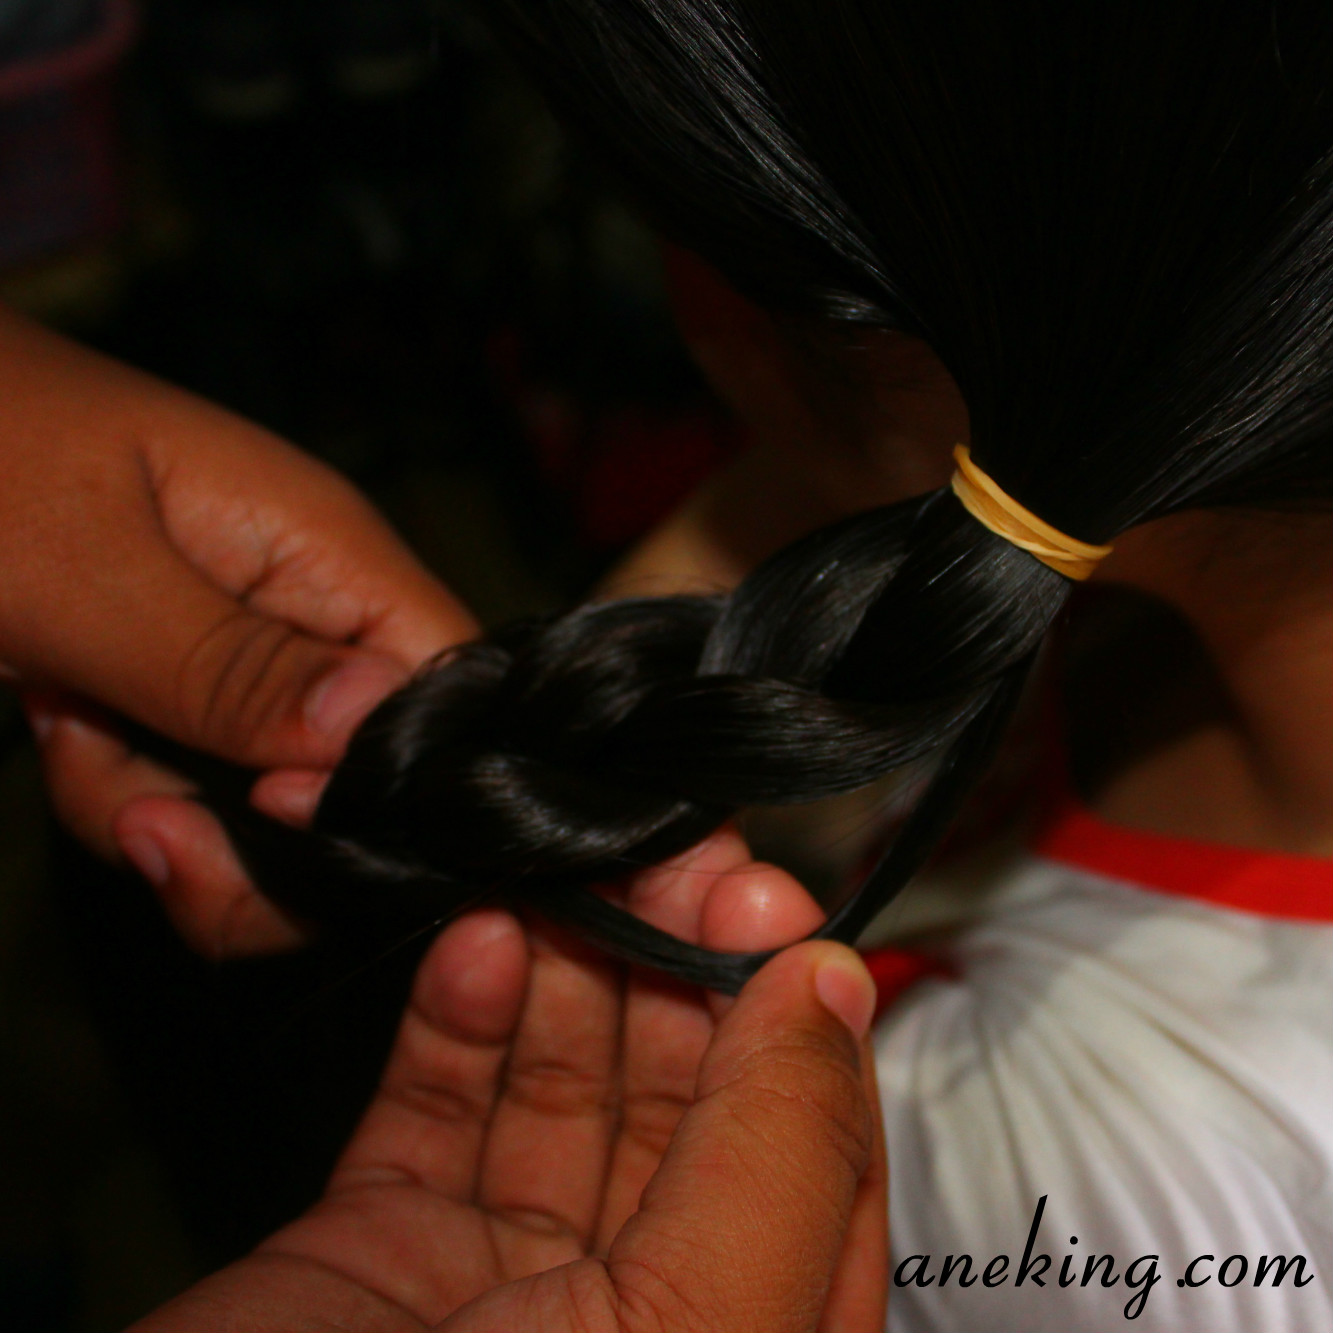
15. Do the same thing on the left and on the right and on the left and stop where you want to stop.
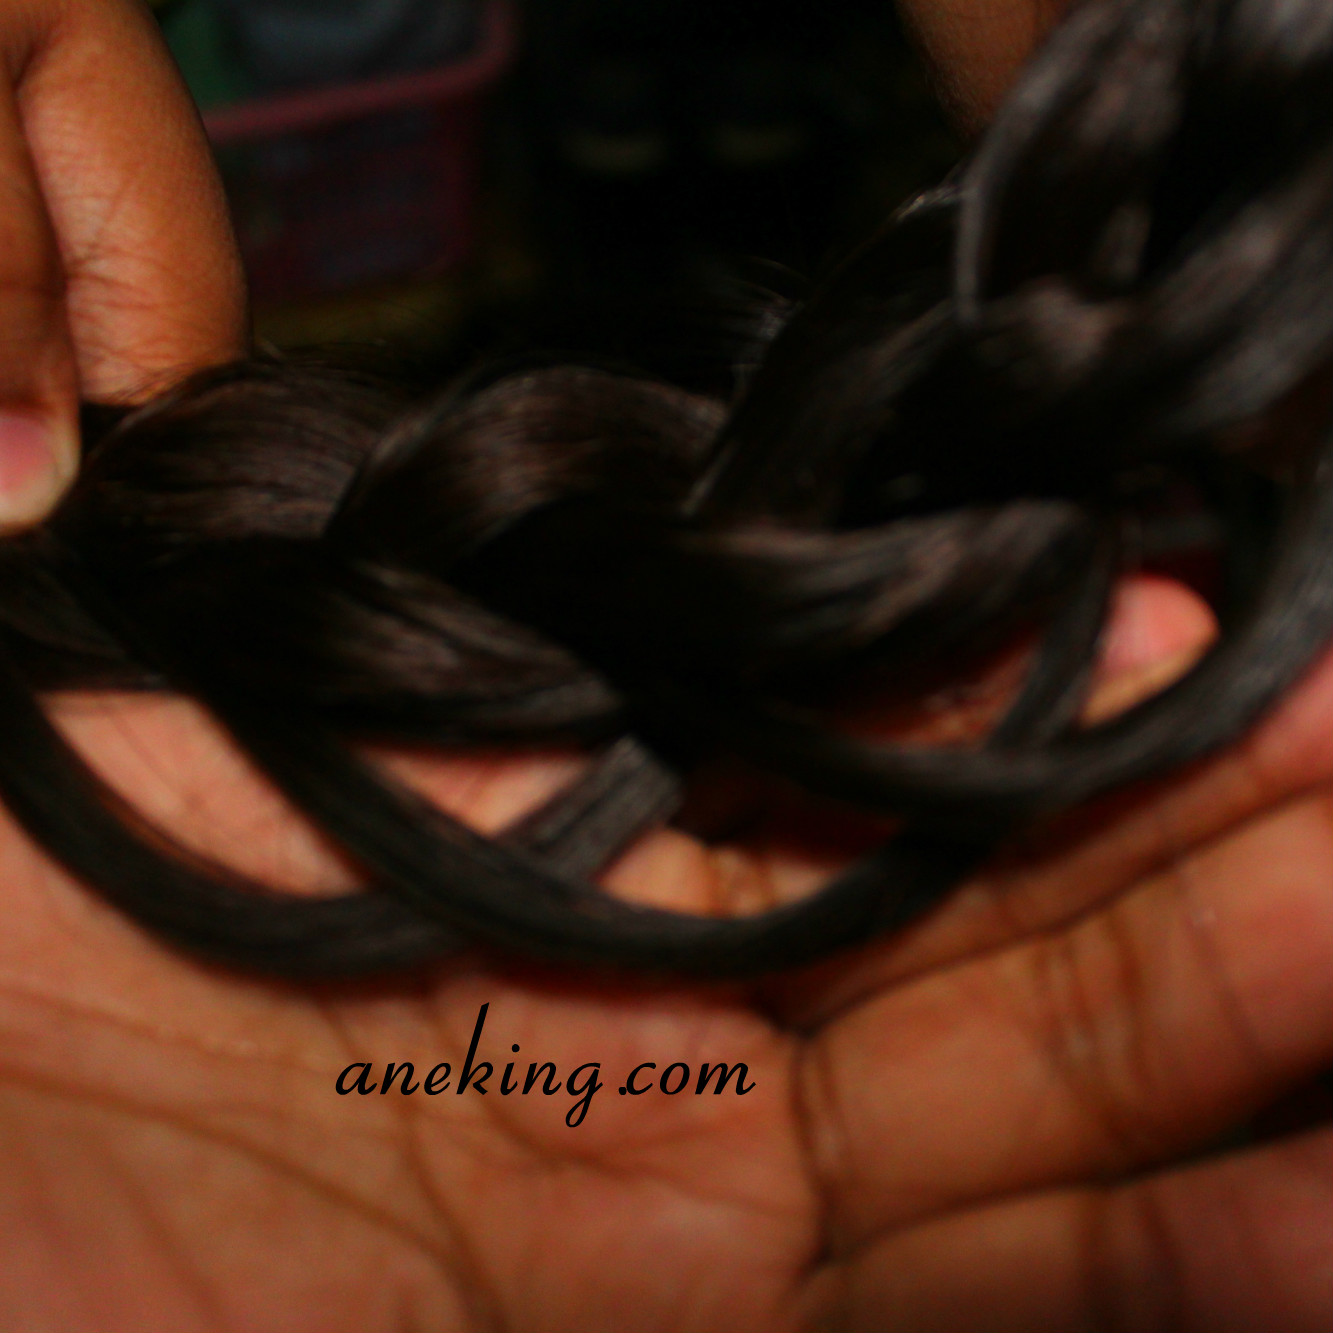
16. Tie your hair with an elastic bond.
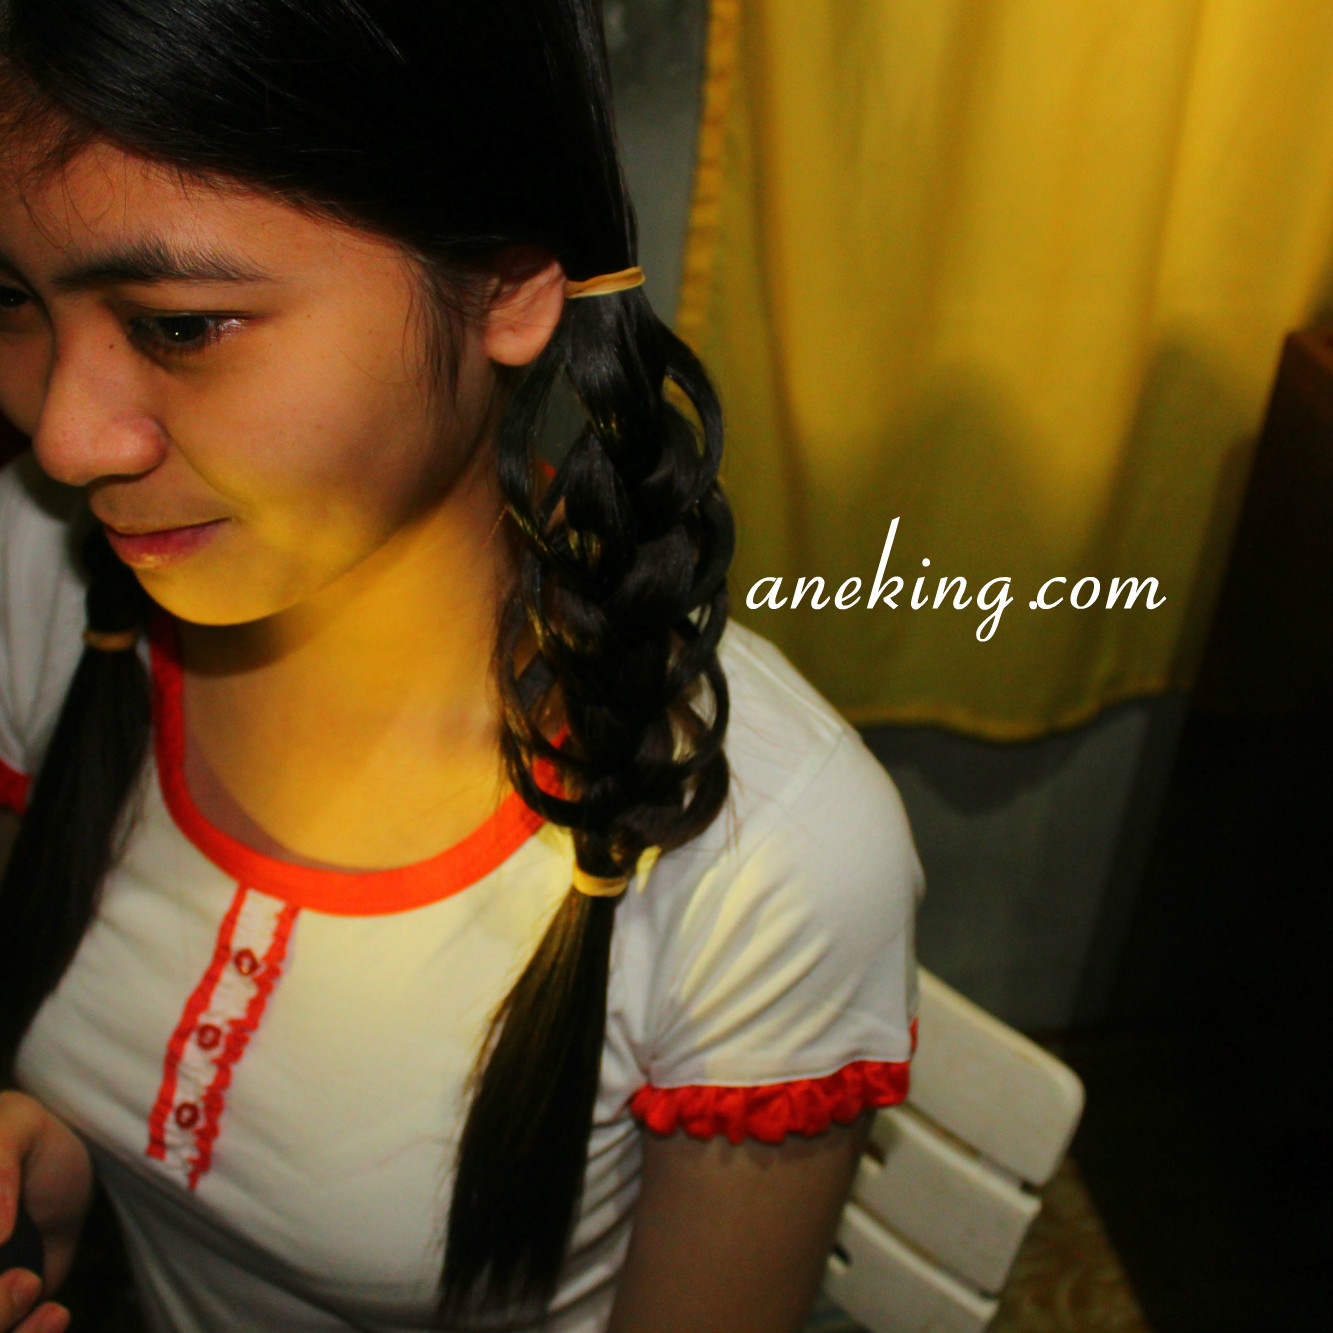
17. Once you’re done, you can now enjoy your feather loop braid.


I would like to thank Jian Bagui and Janecel Jamig for helping me in the braid.