Waterfall Braid Headband
Throw your headbands now, ladies! Yes, you read that right because you won’t need them anymore after reading this blog post since today, I’ll share my own way in styling my hair while pulling it back to keep them off my face without using a headband. Is that even possible? Of course! With only my hair, an elastic bond and a little patience to learn, you can have a waterfall braid headband, a cute and unique alternative to fabric headband. It is one of the best styles for giving the illusion of effort, when in fact, it’s quite simple. Try the following methods and I’ll prove that’s it’s easy and comfy at the same time.
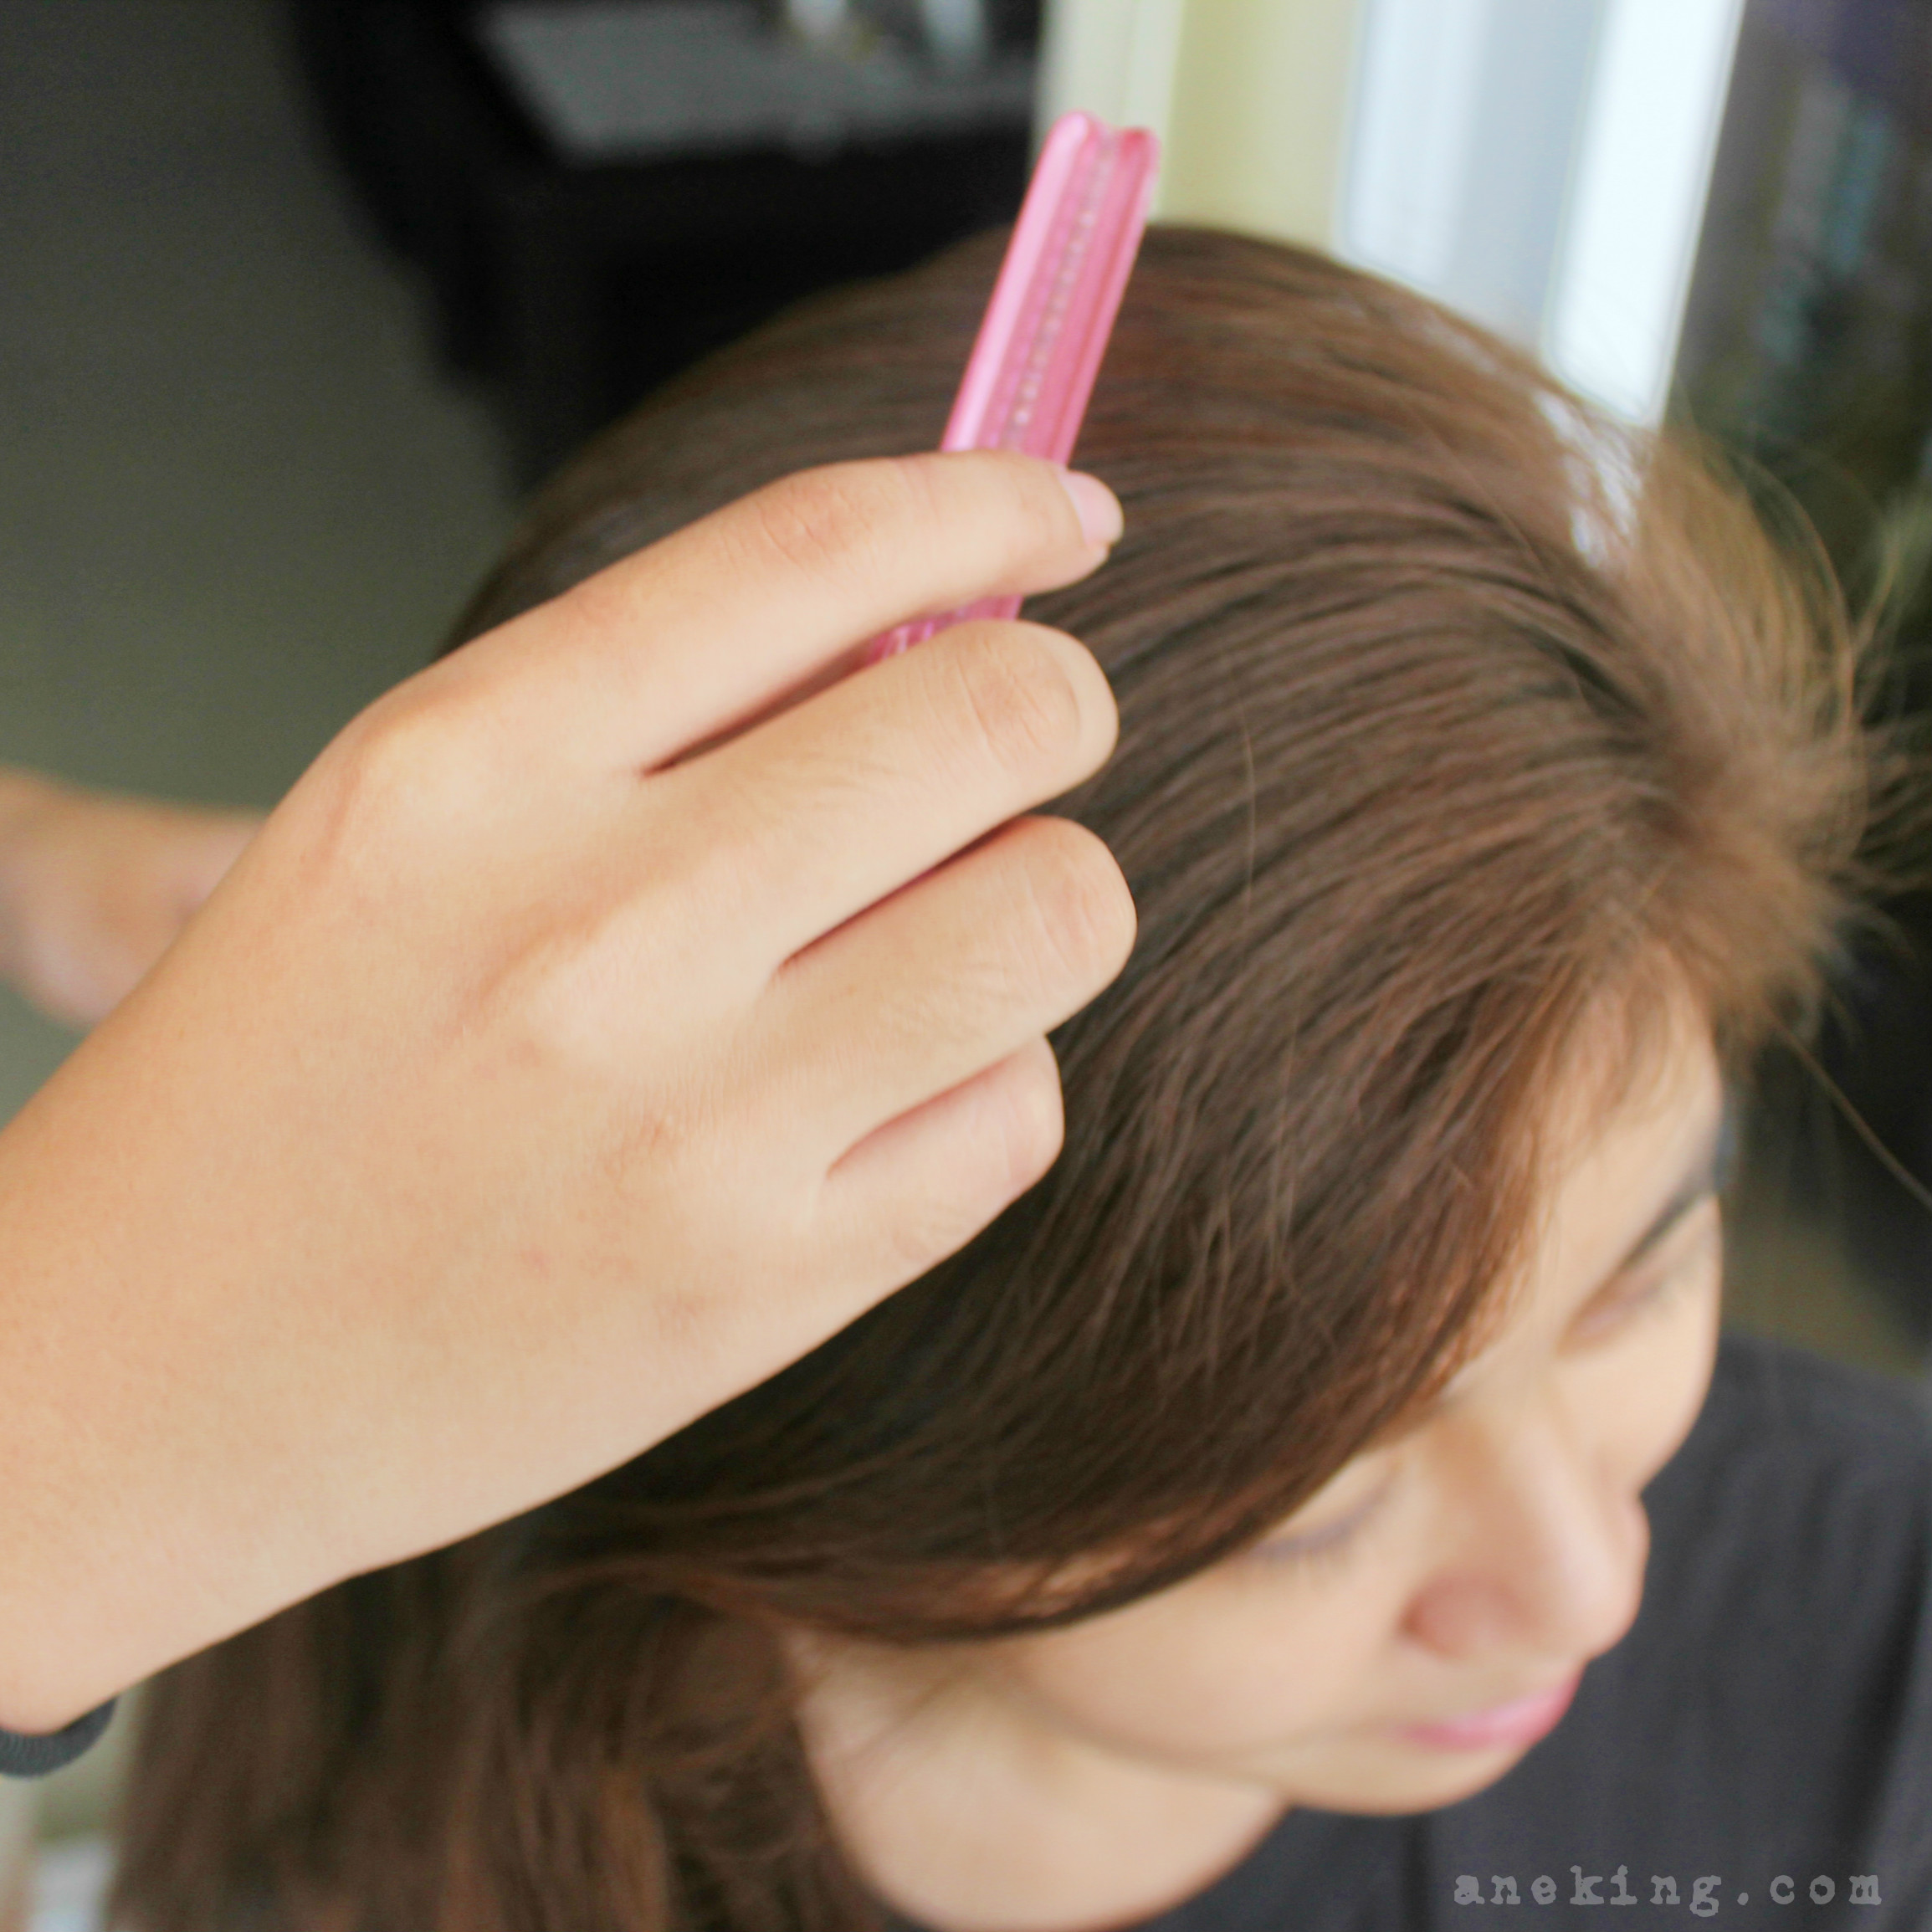
1. Comb your hair. You don’t want your waterfall headband braid to be messy, right?
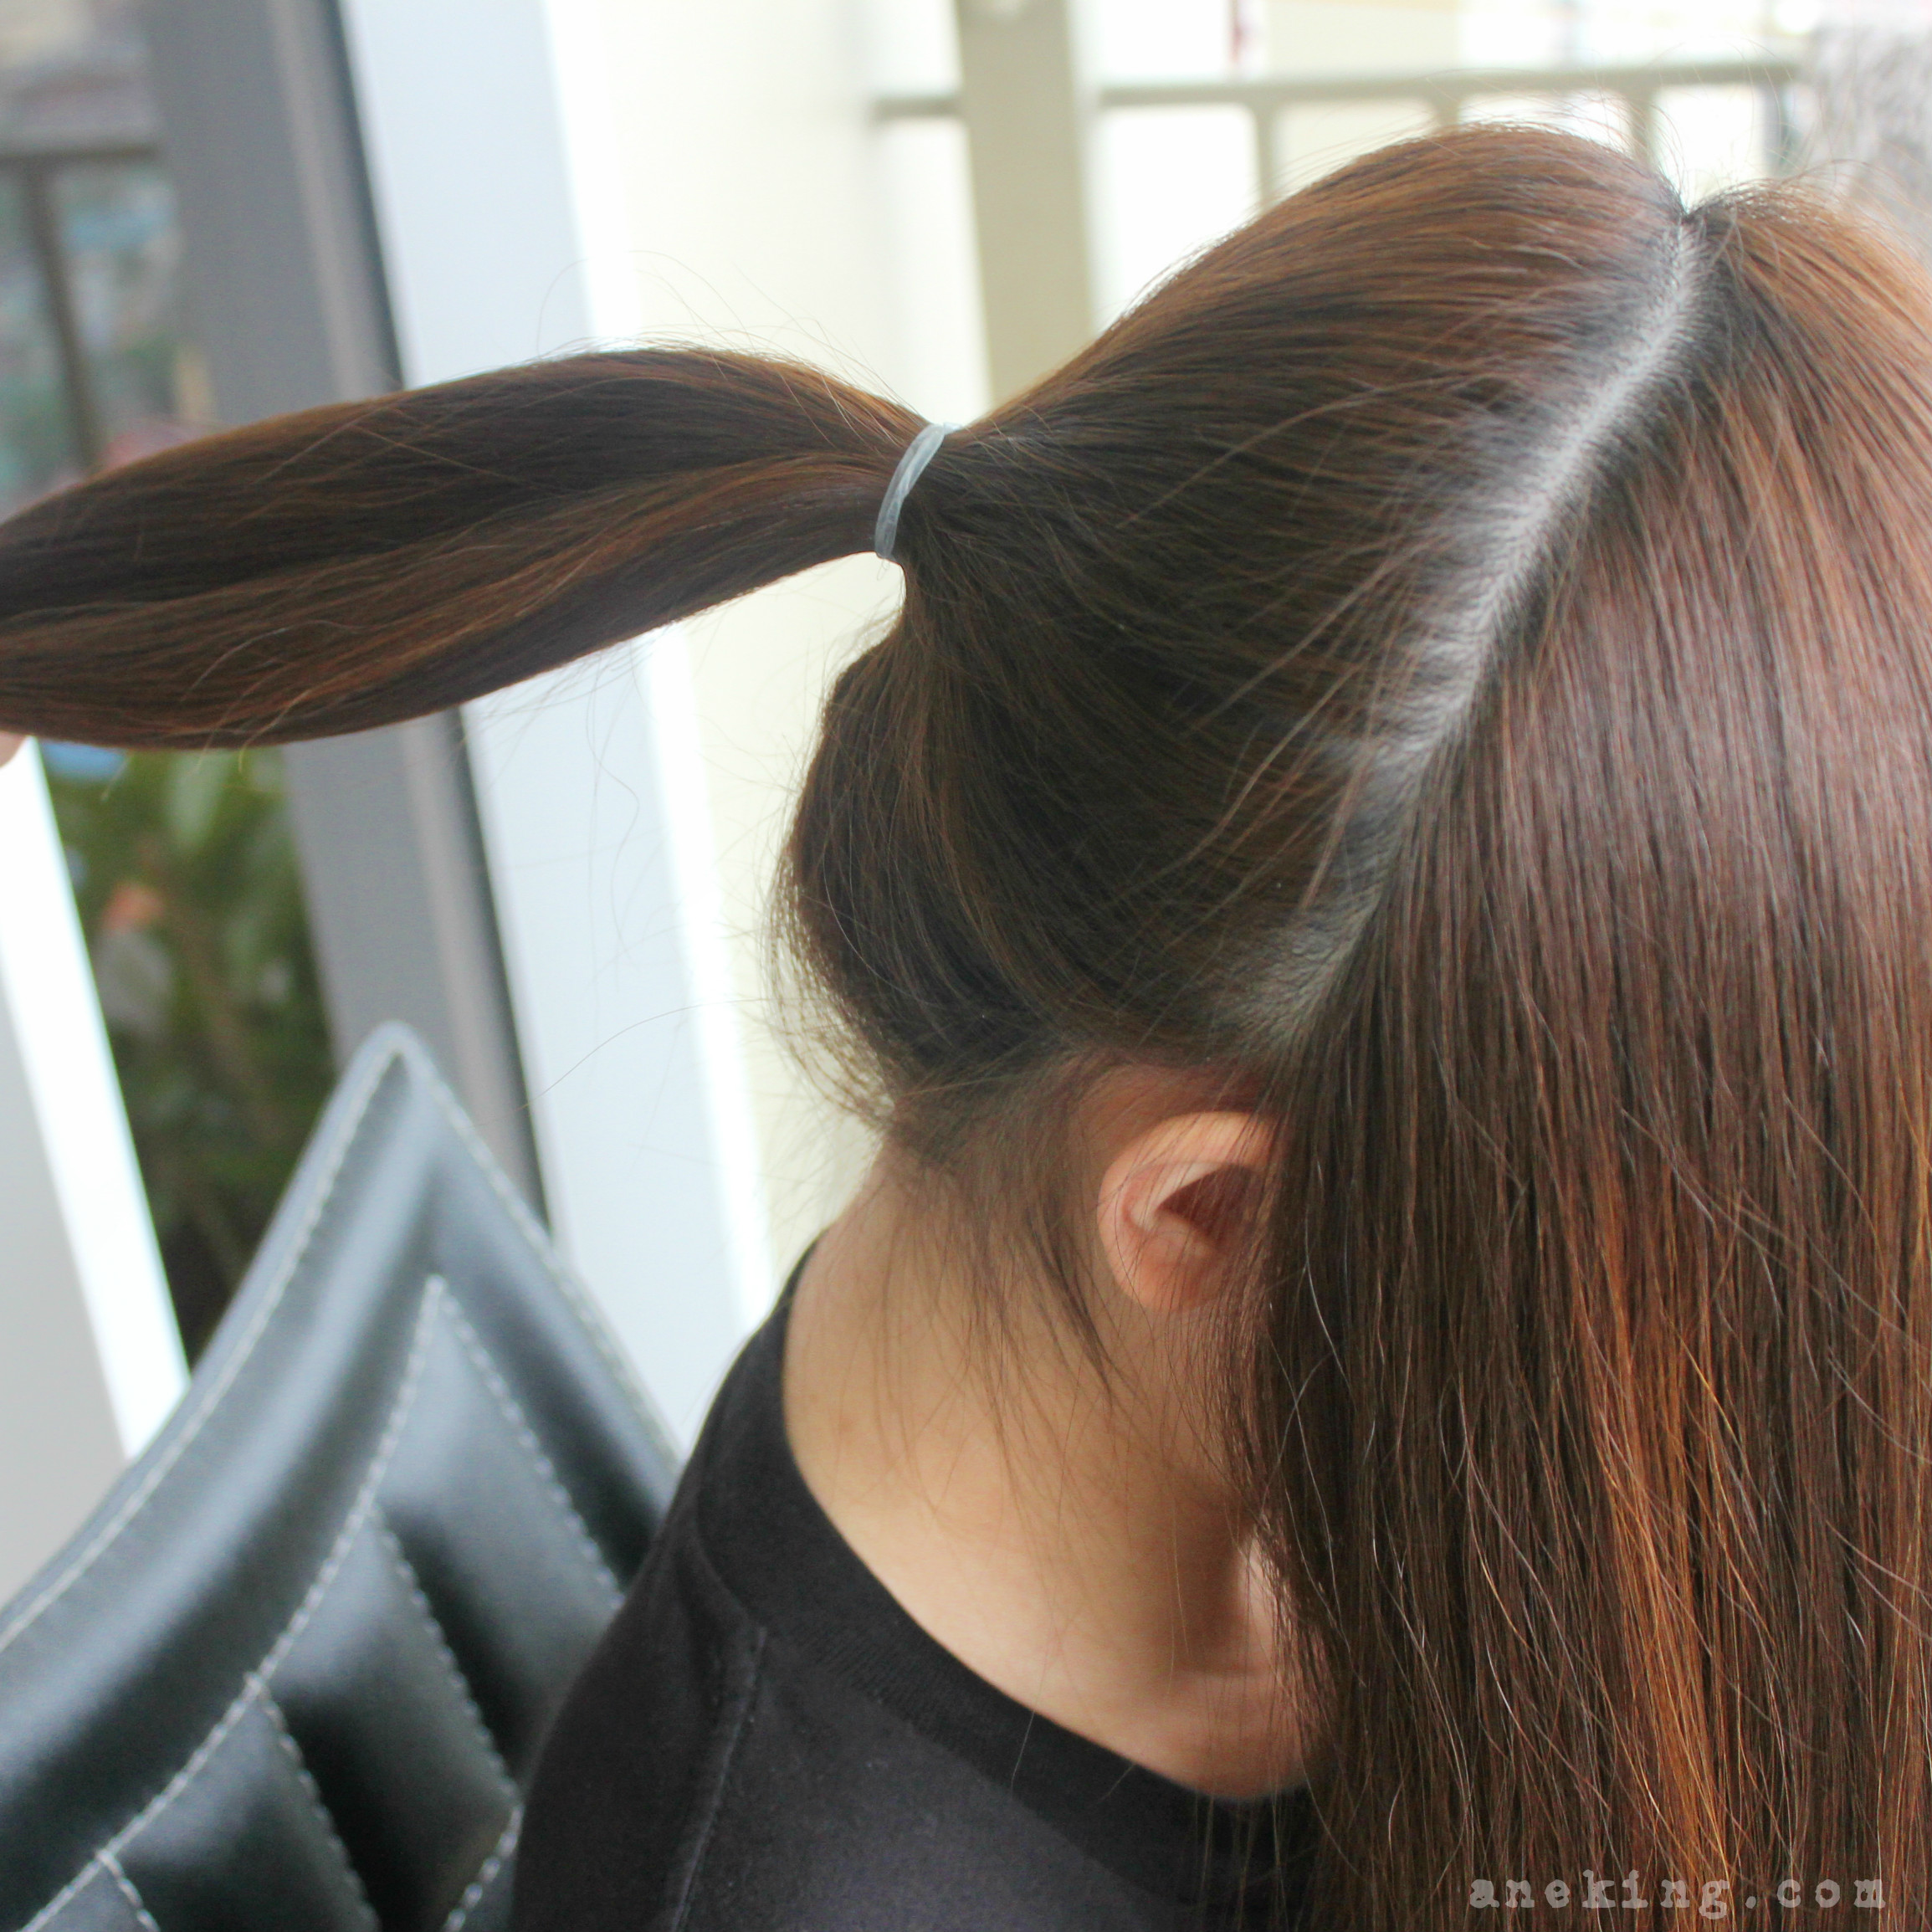
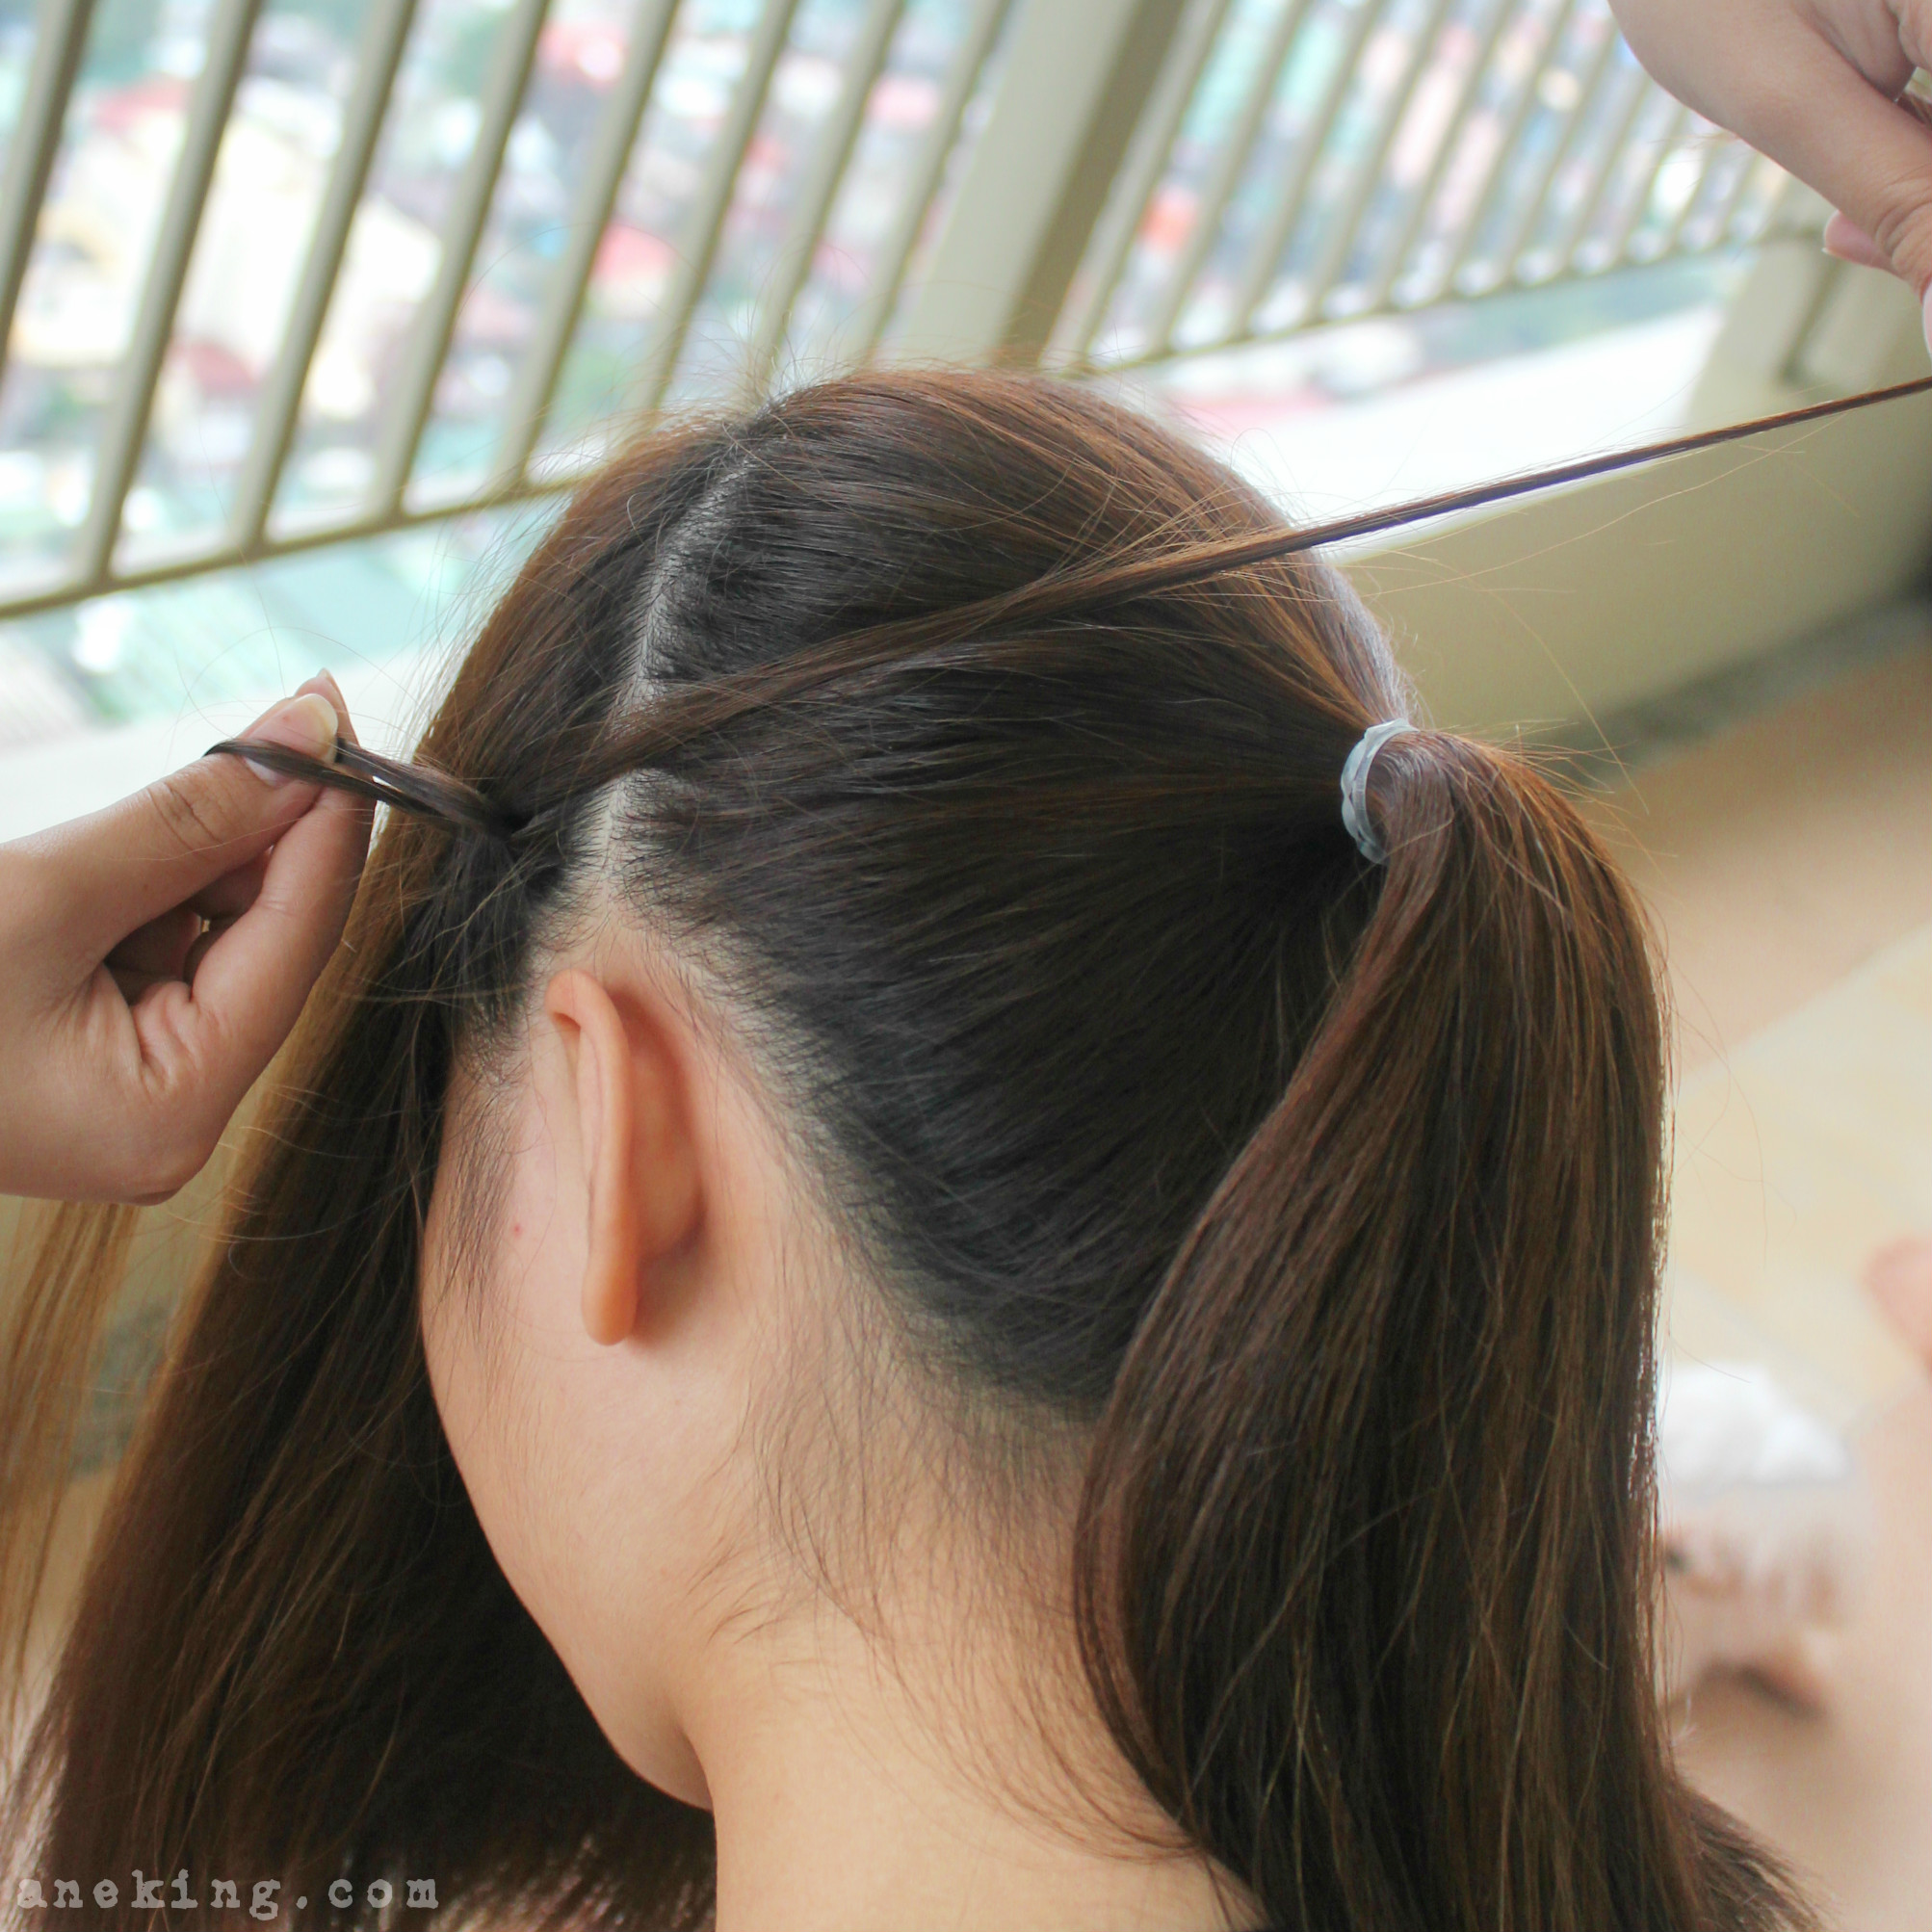
2. Part your front hair to the hair at the back and temporarily bond it to easily separate.
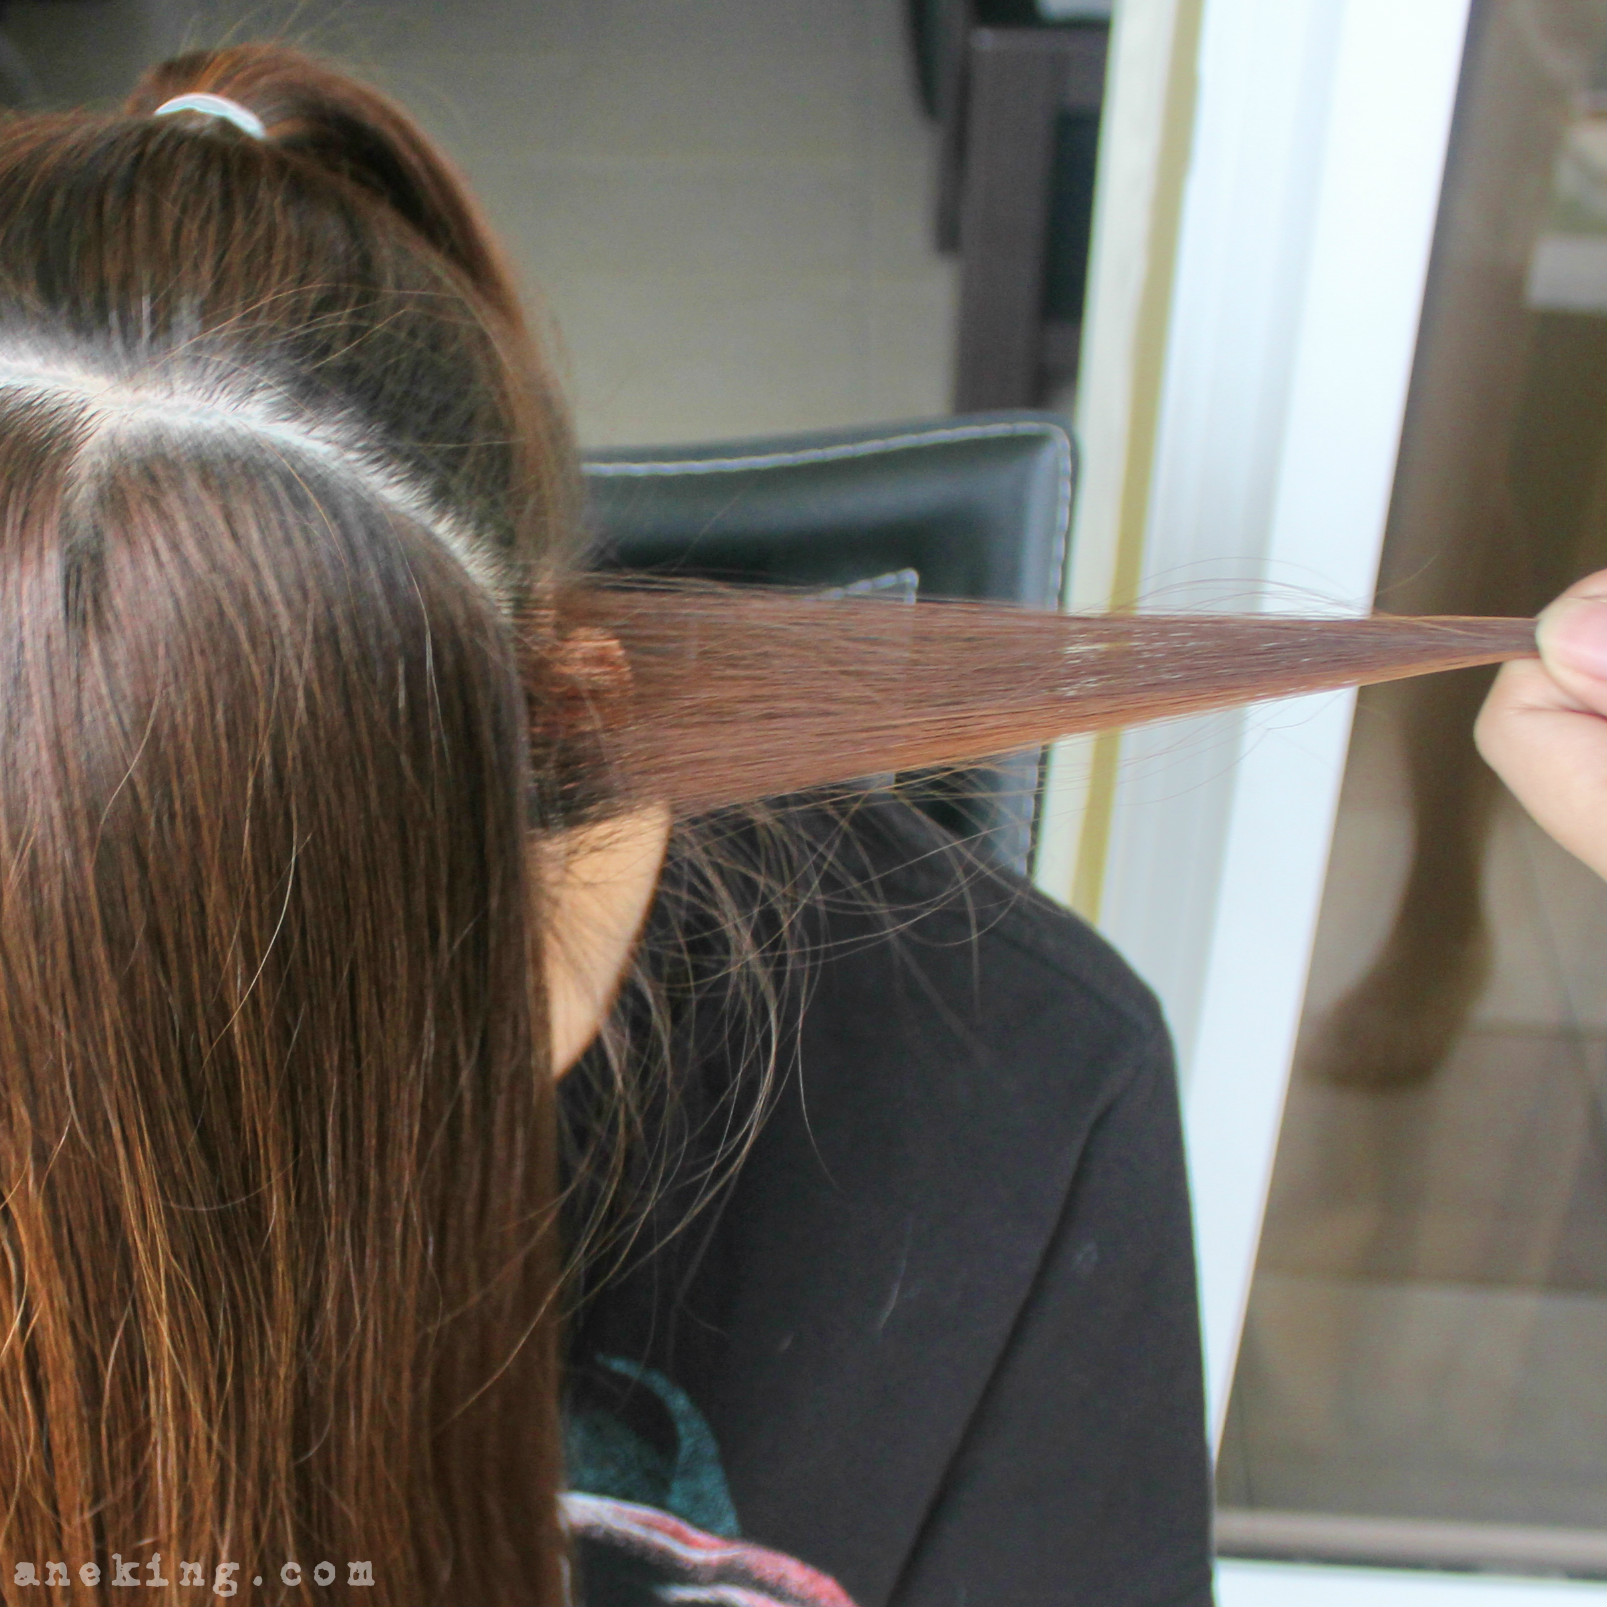
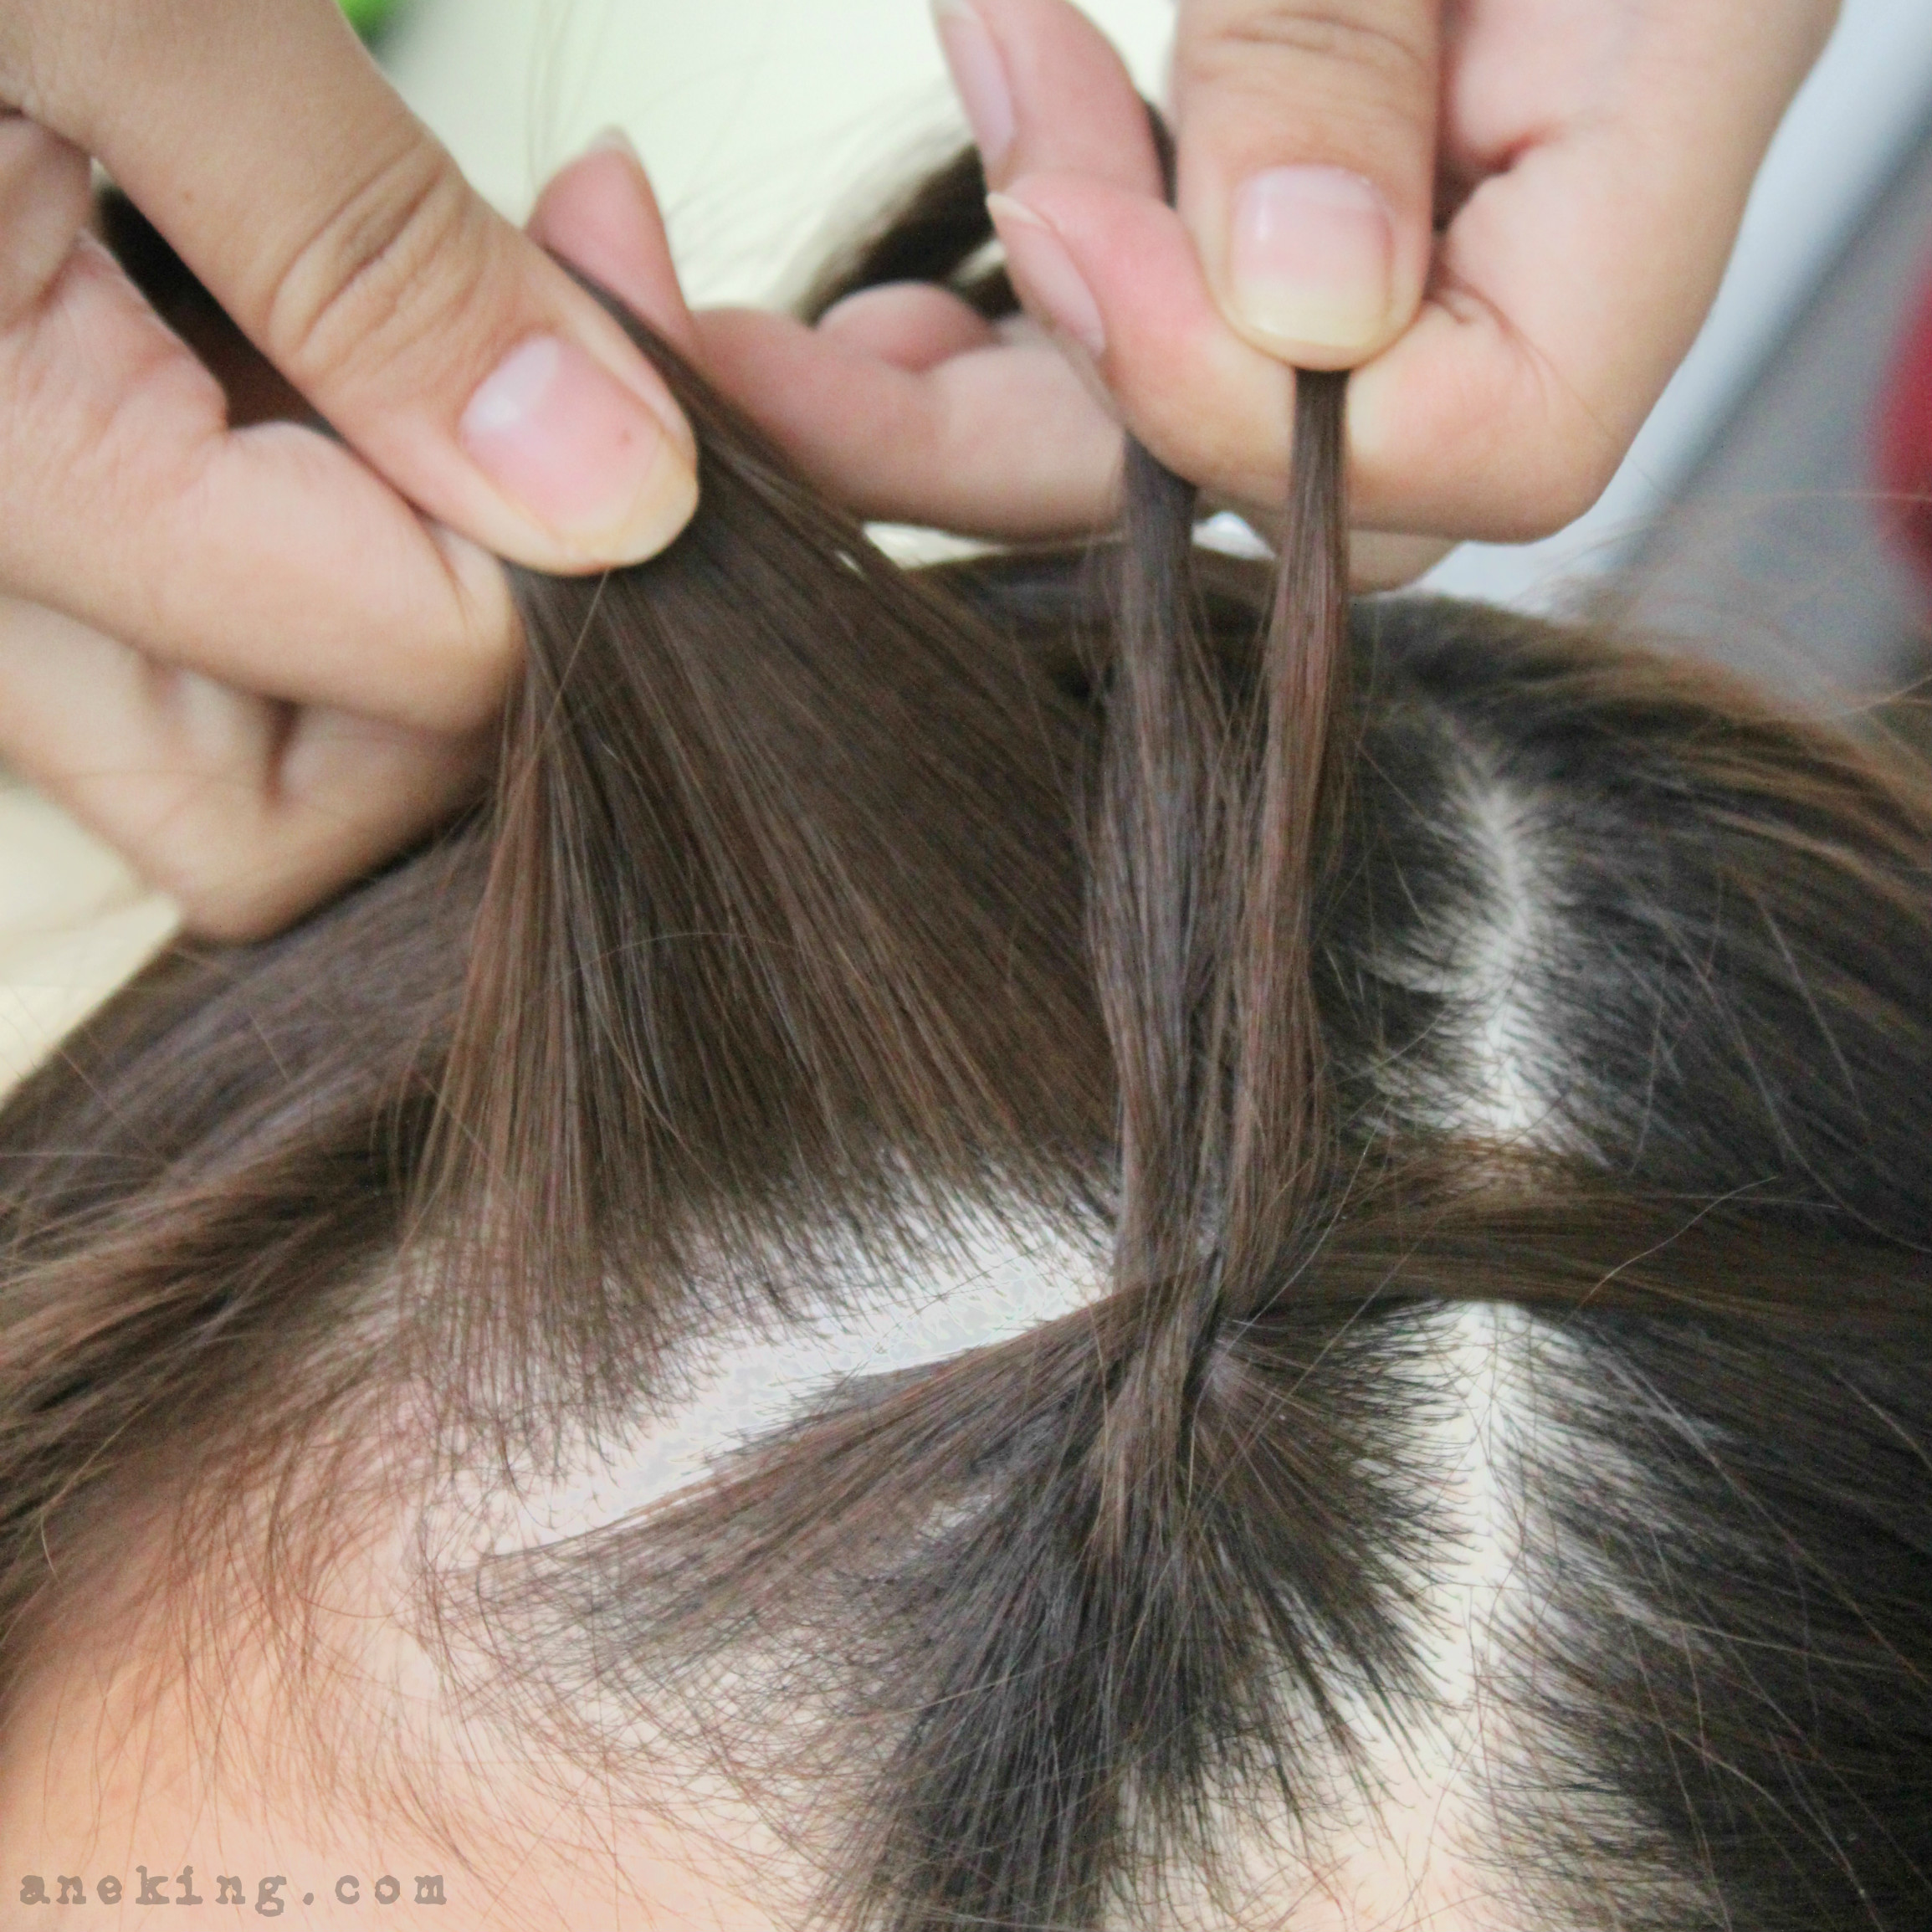
3. Get a small strand of hair from the side where you’re comfortable to start. Divide this into three.
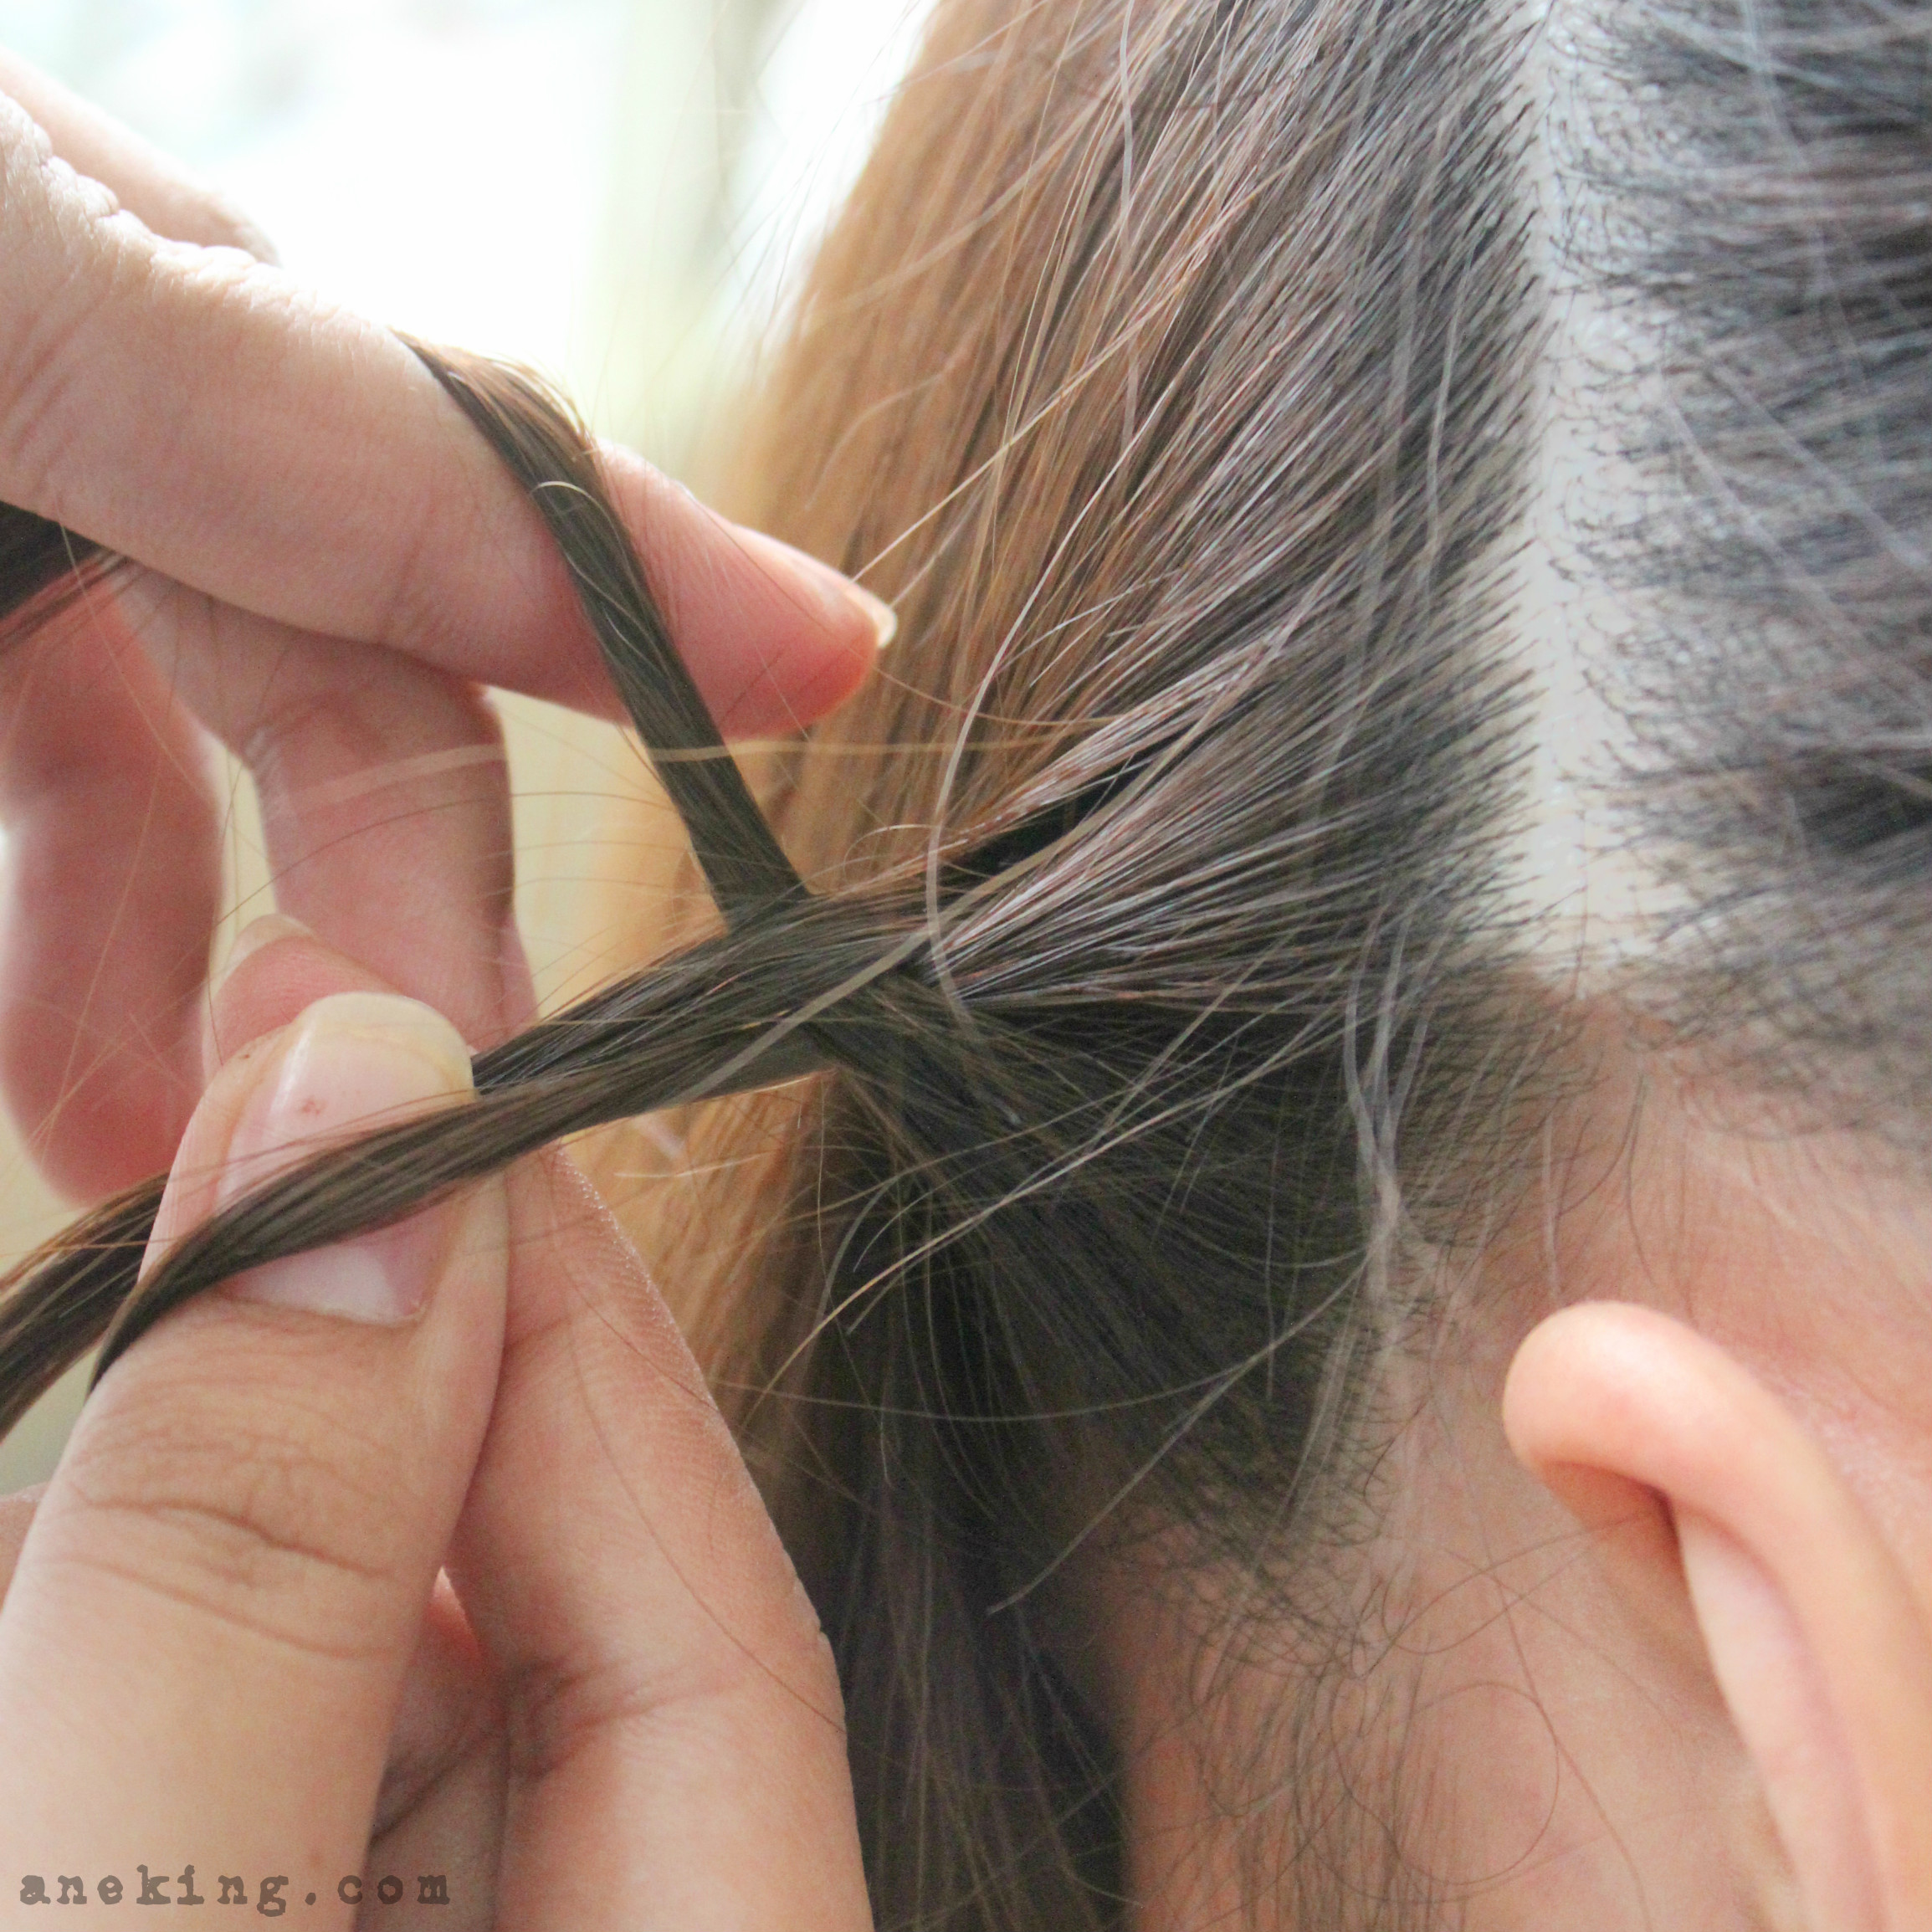
4. Start with the first round of braiding. Bring the right strand into the middle and do the same with the left strand.
5. The right strand should now be on the left and the left strand should now be in the middle. Remove the current left strand, the one facing the tied hair at the back, from braiding.
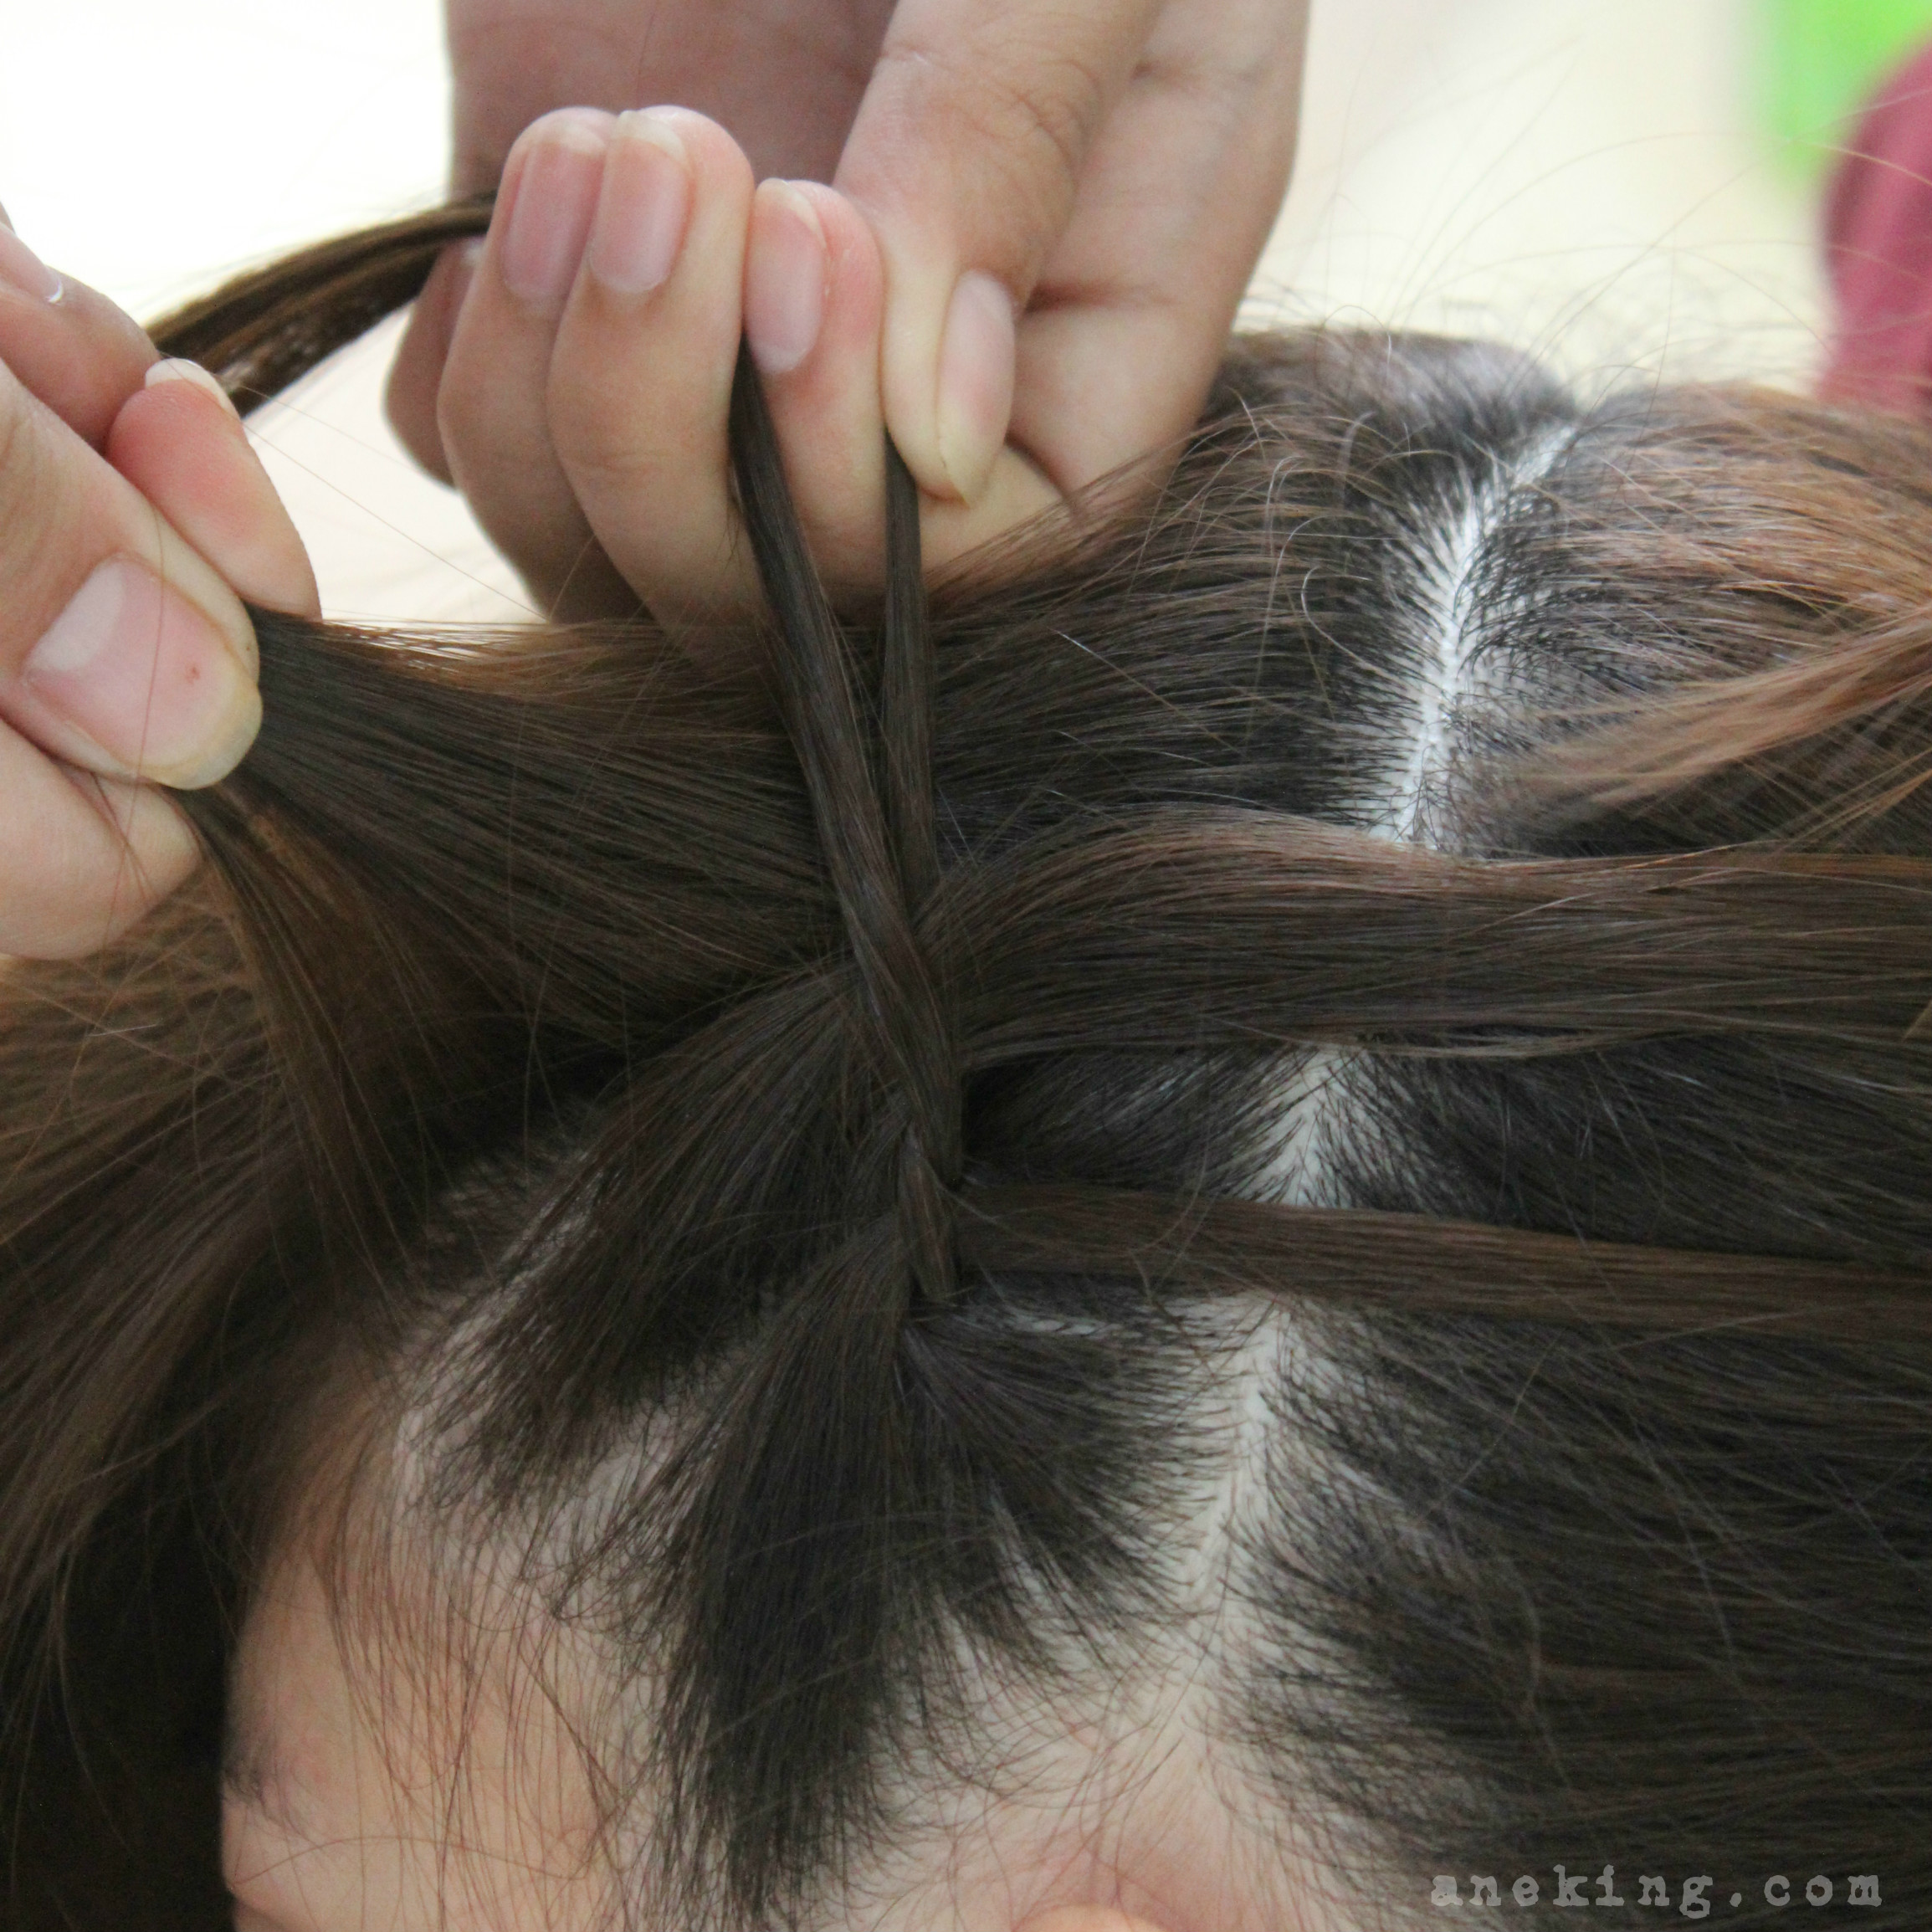
6. Get your third strand from the hair in front and do another round of braiding using the two old strands and one new strand.
7. Again, remove the strand facing the tied hair at the back and get another strand from the front hair.
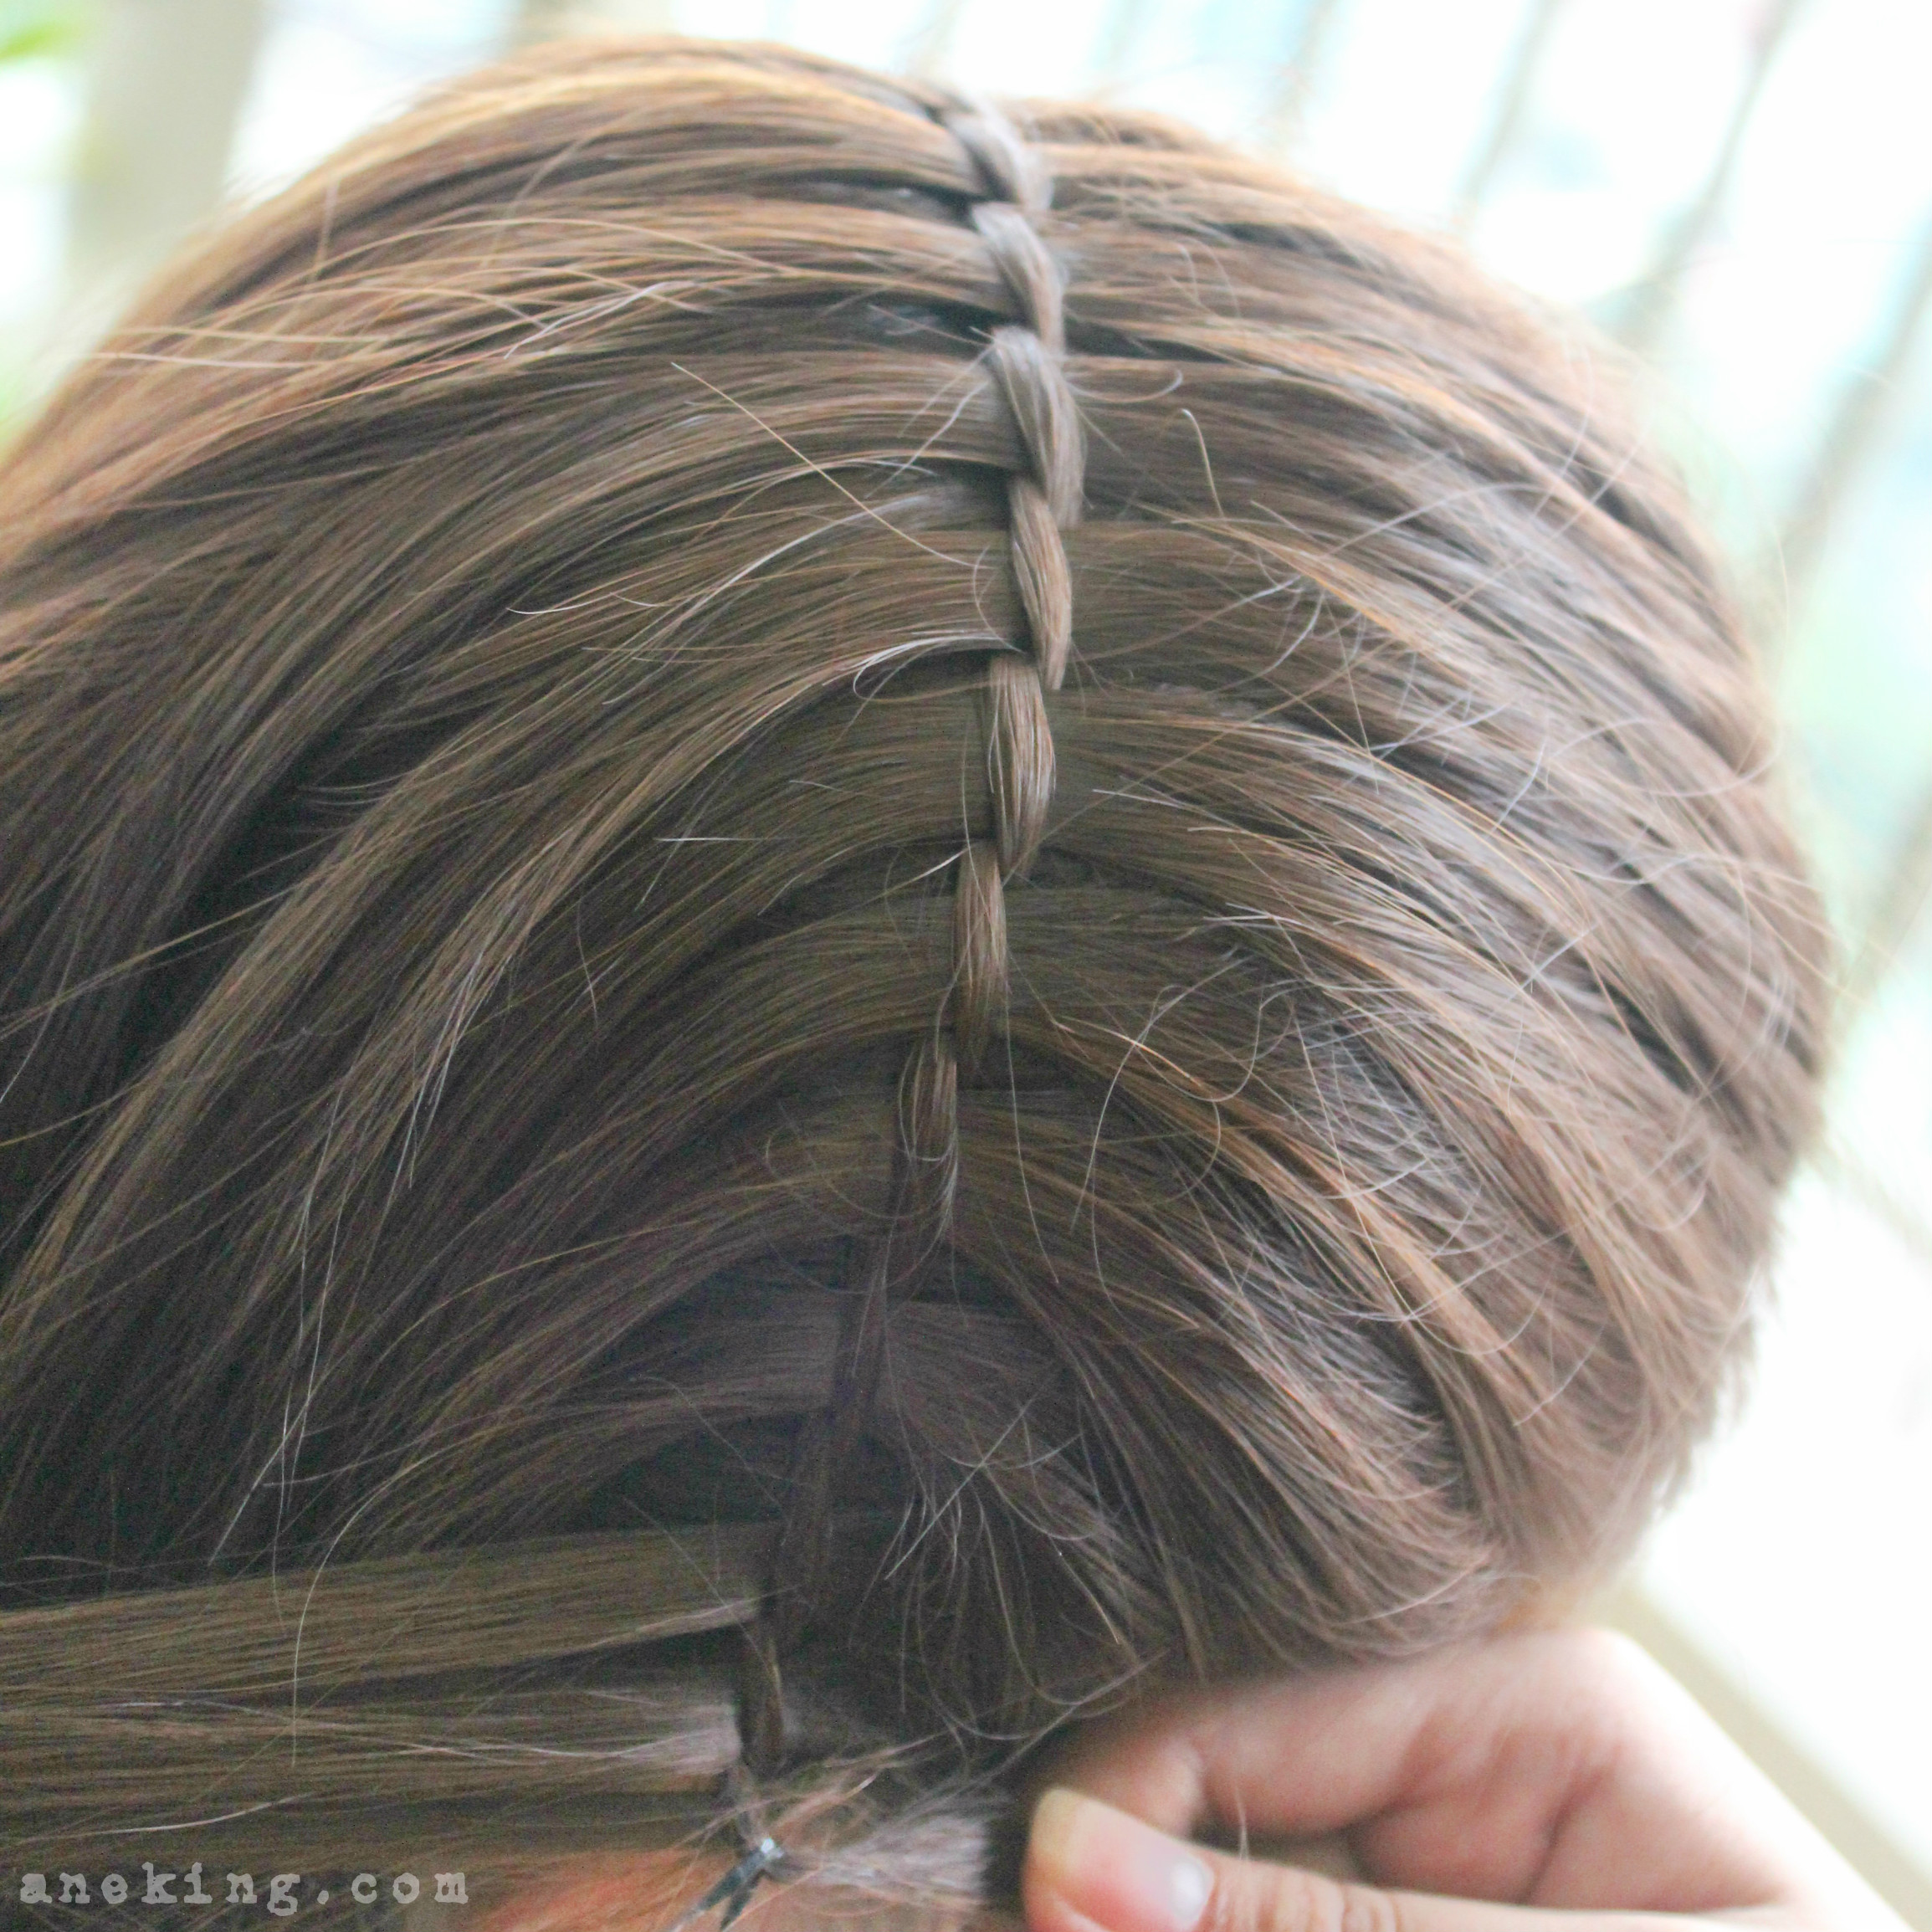
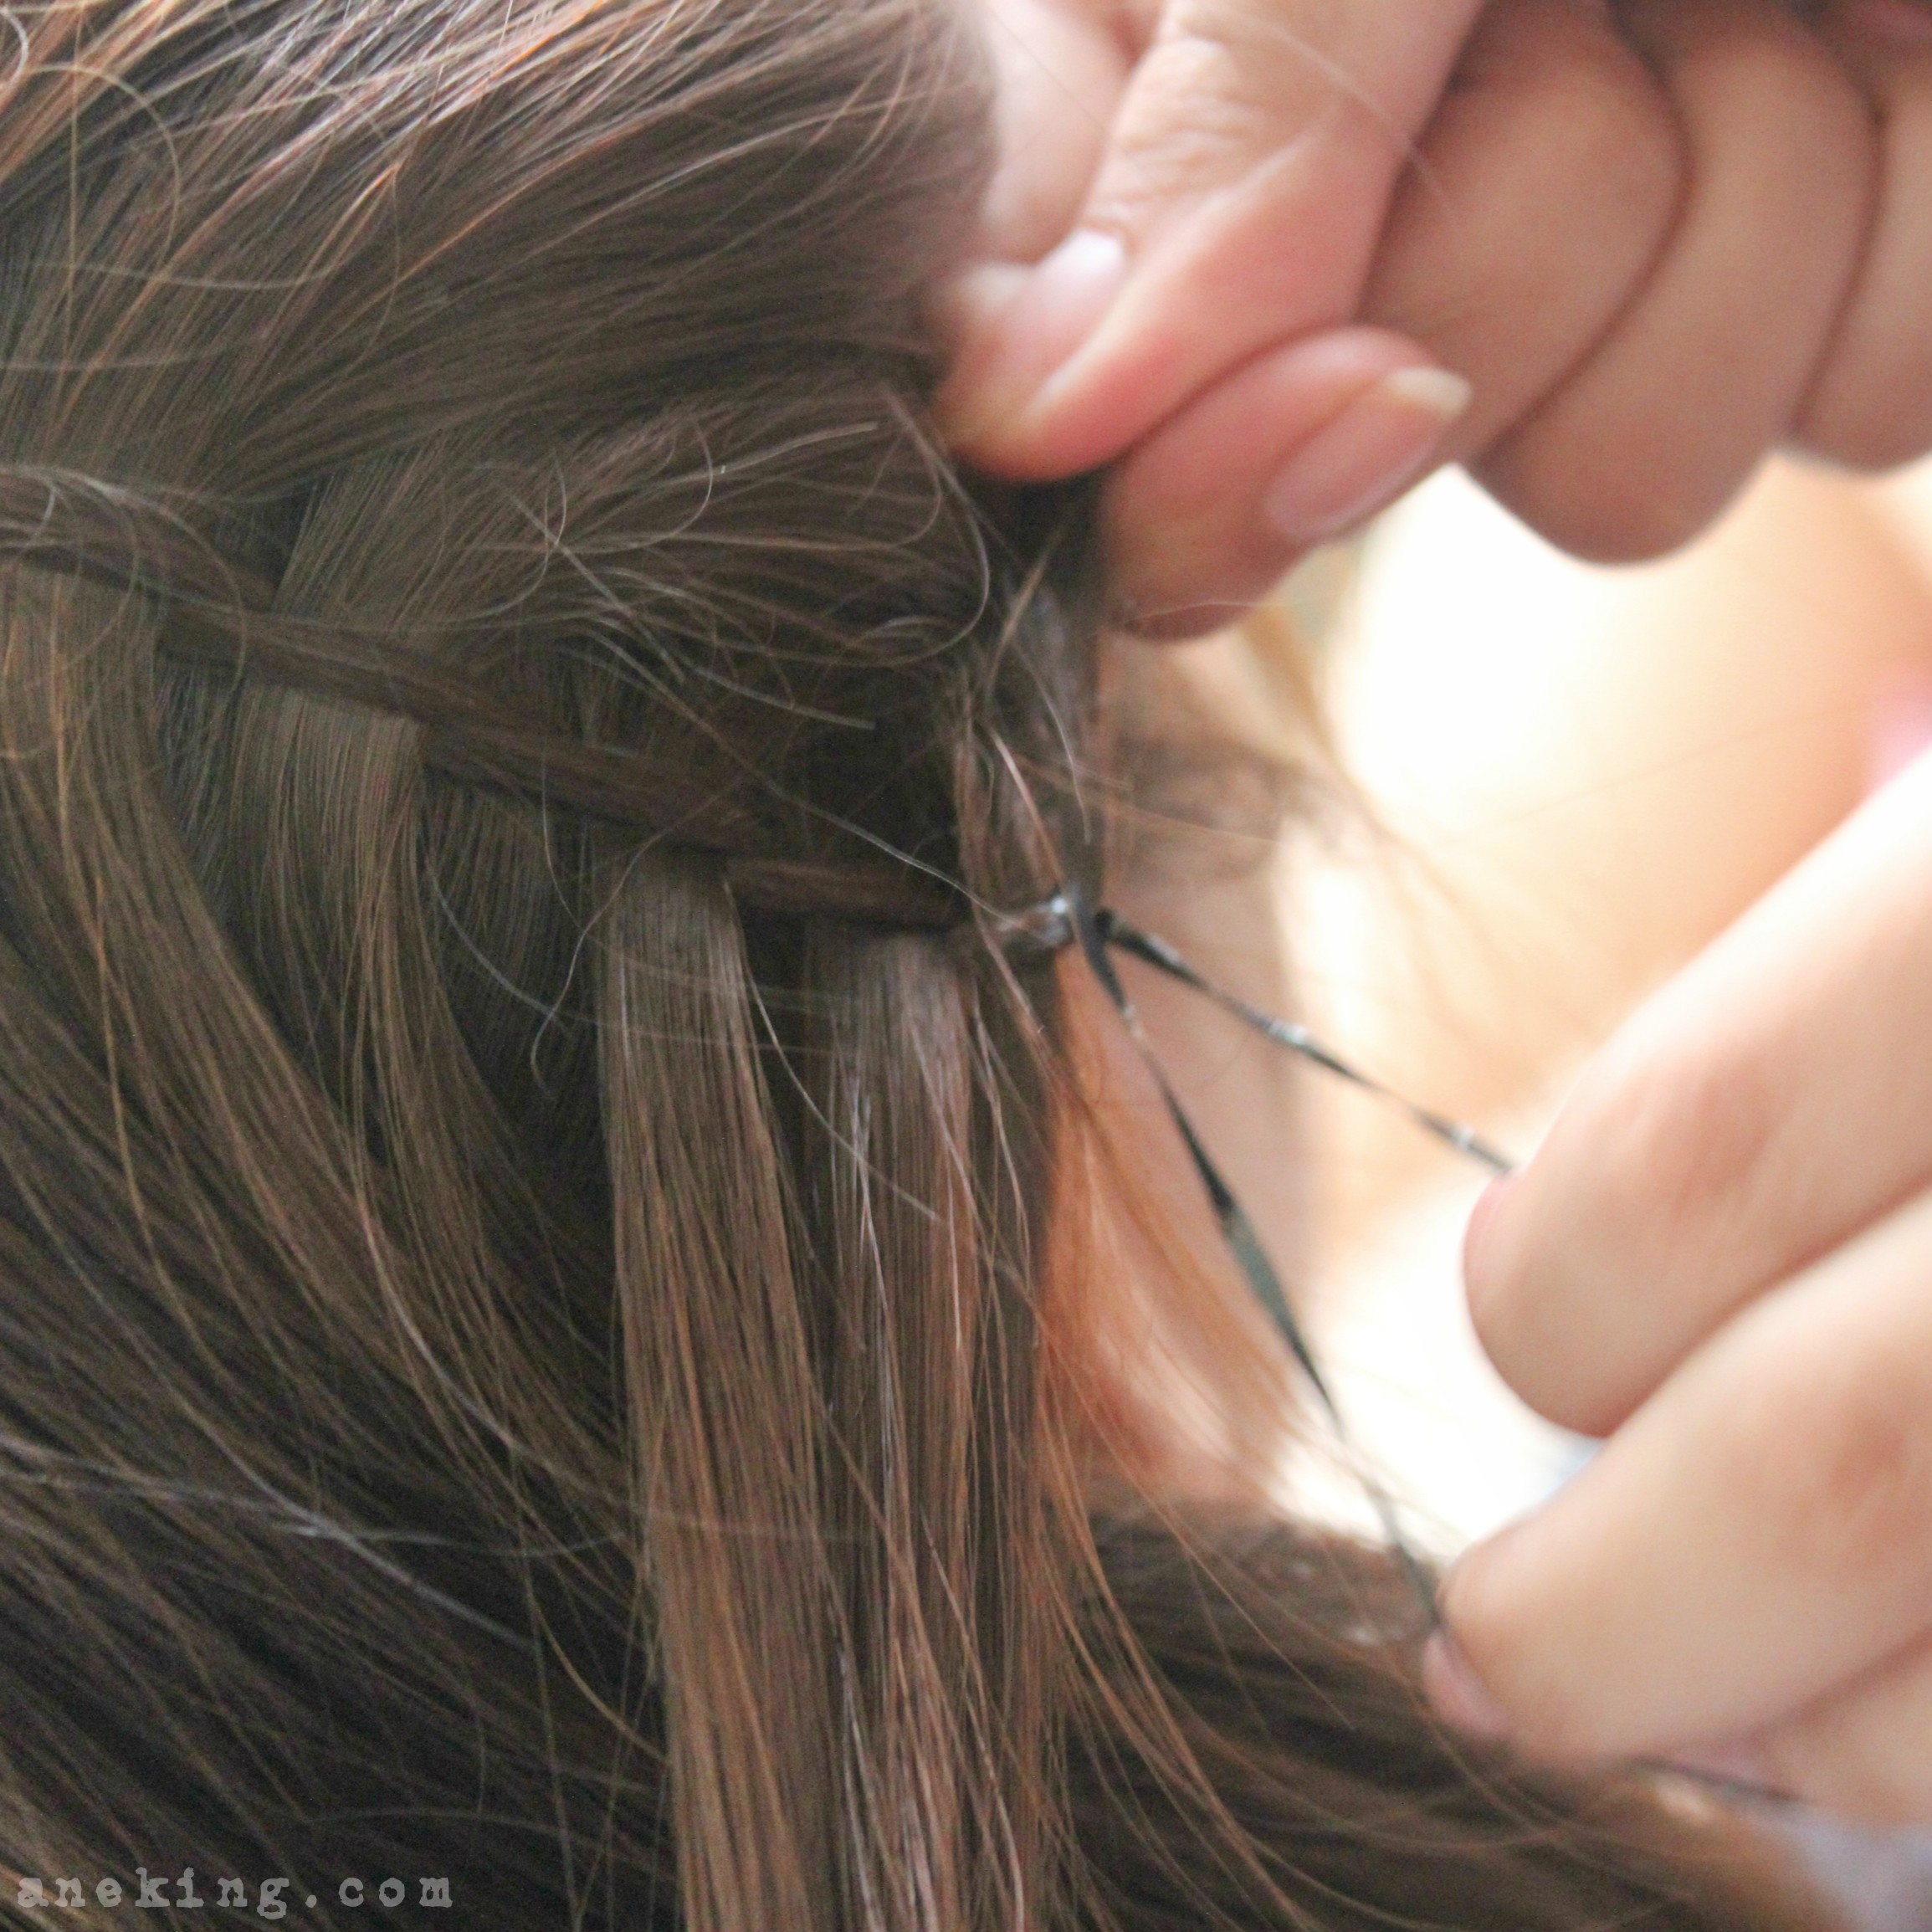
8. Continue the braid-remove-get process until you reached the other side of your head.
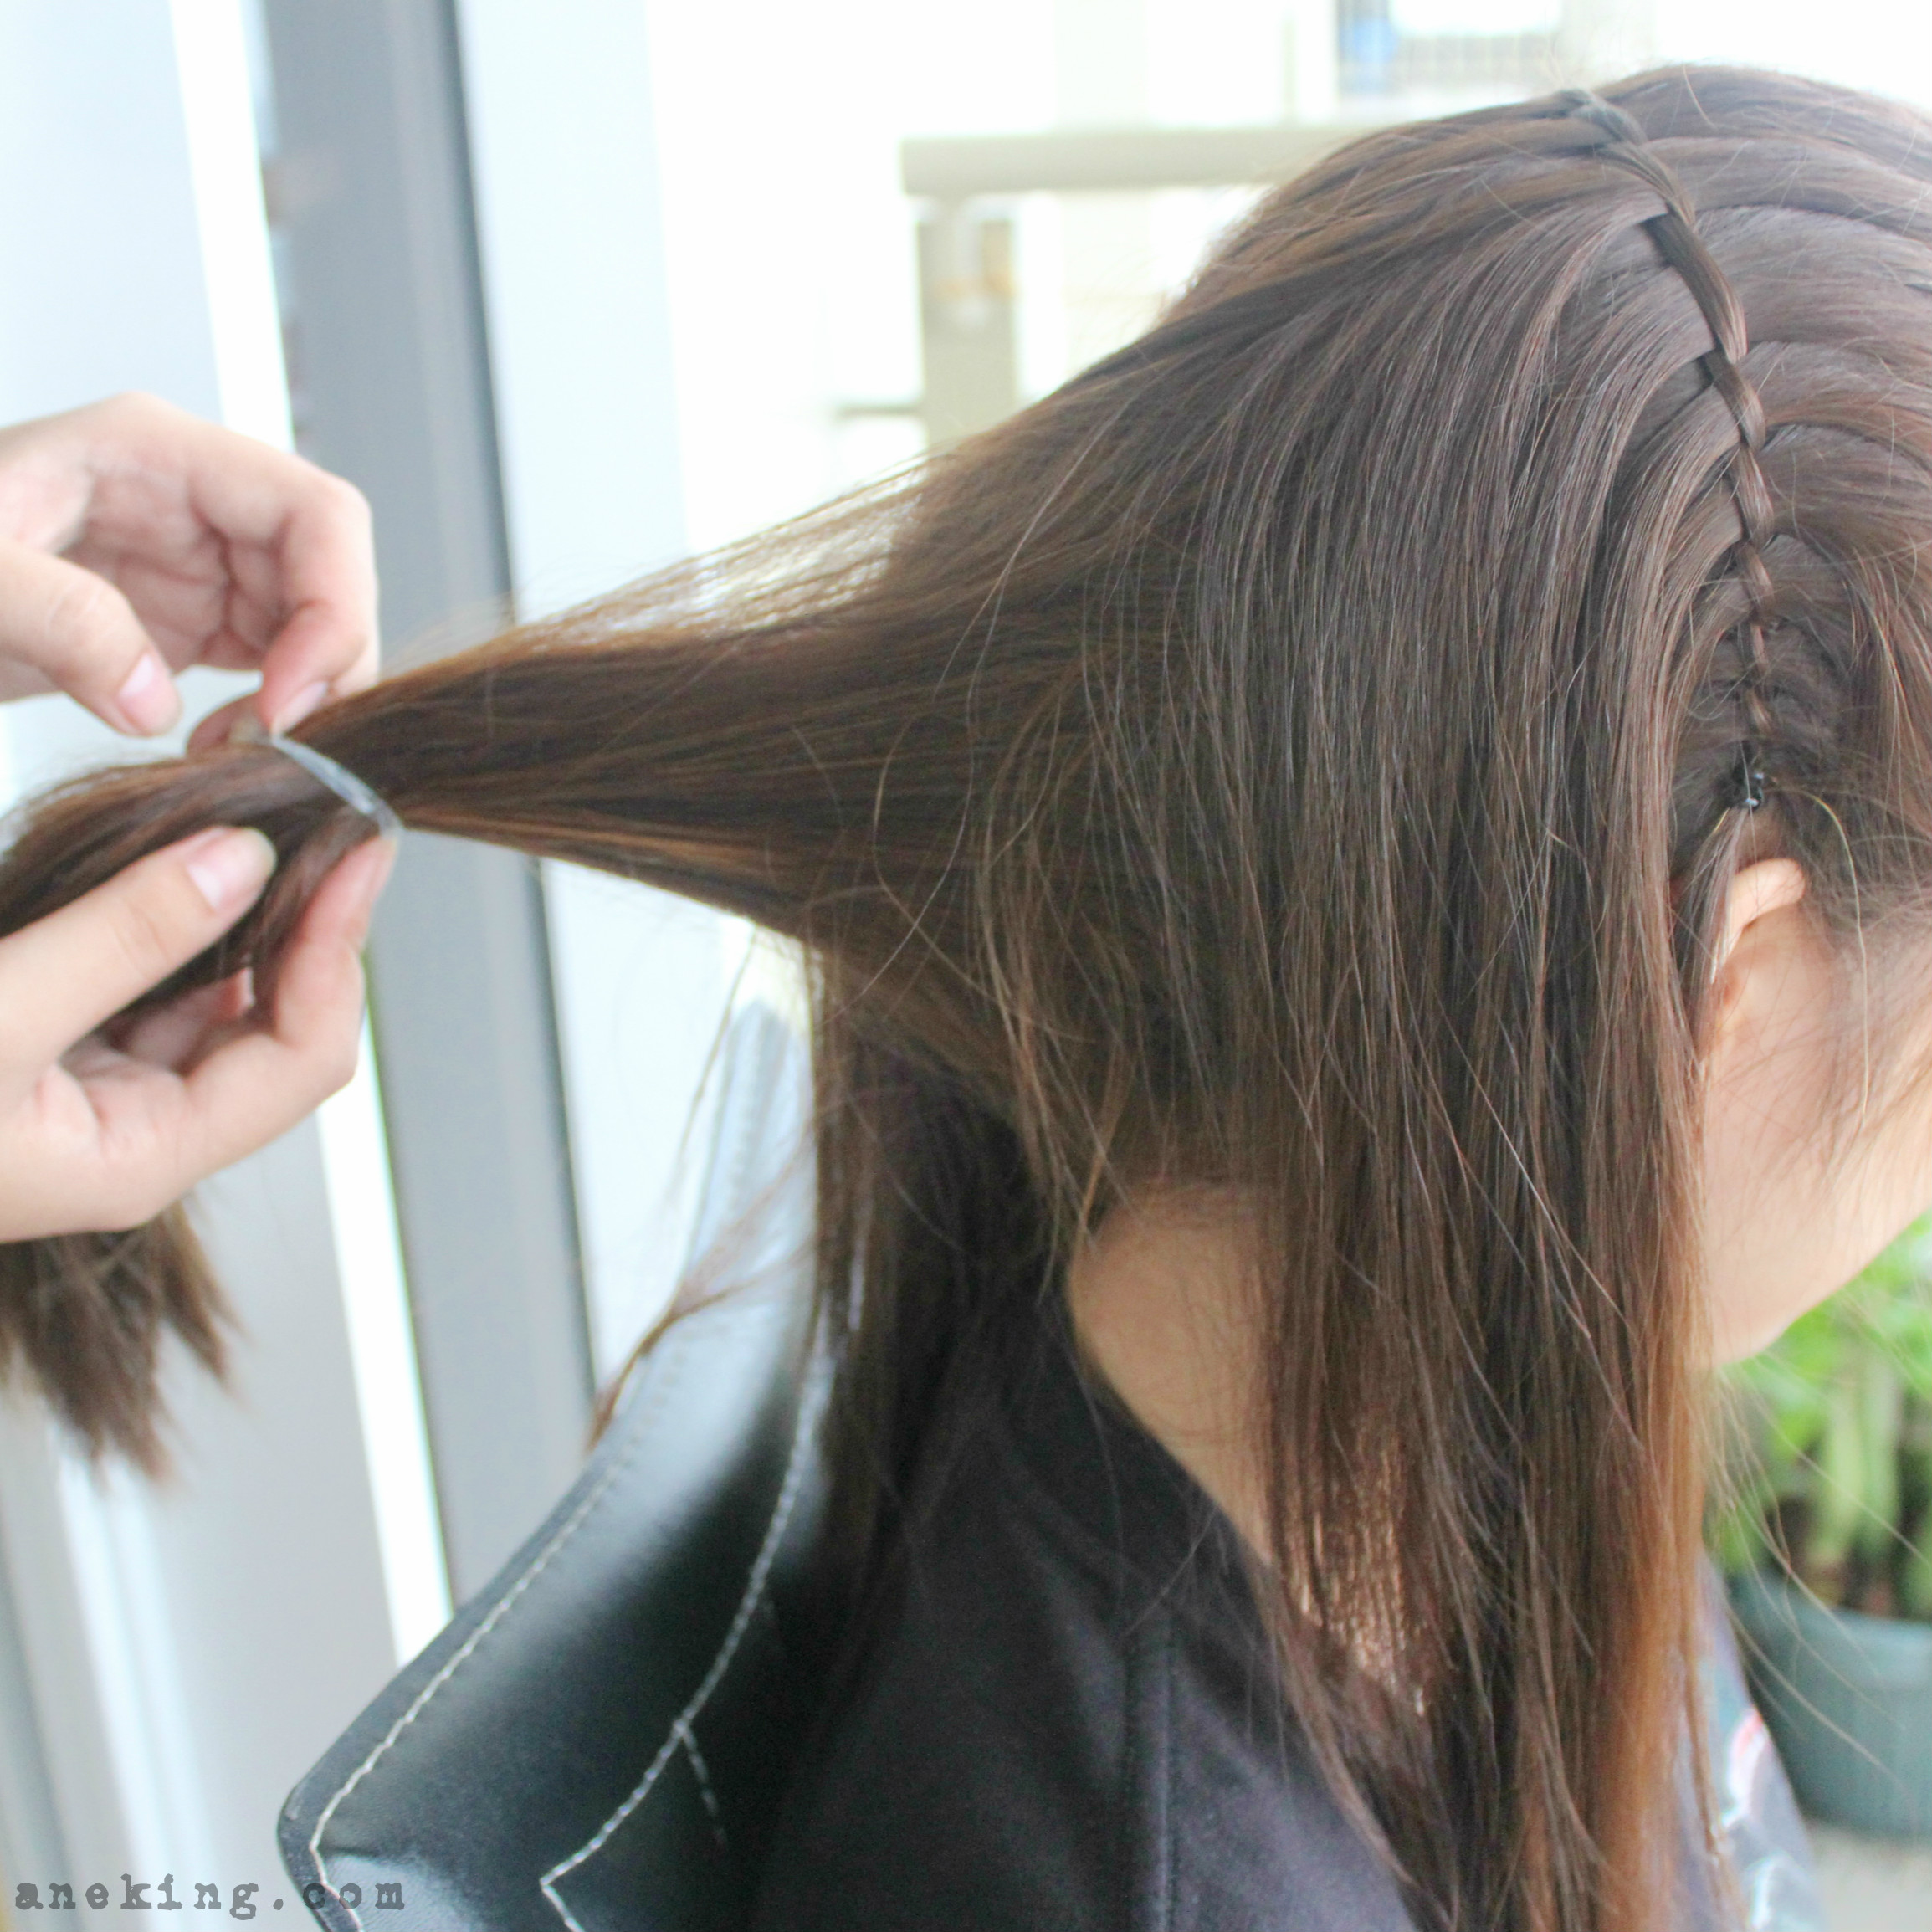
9. Tie the end with an elastic bond.
10. Remove the bond that is used to separate the hair at the back.
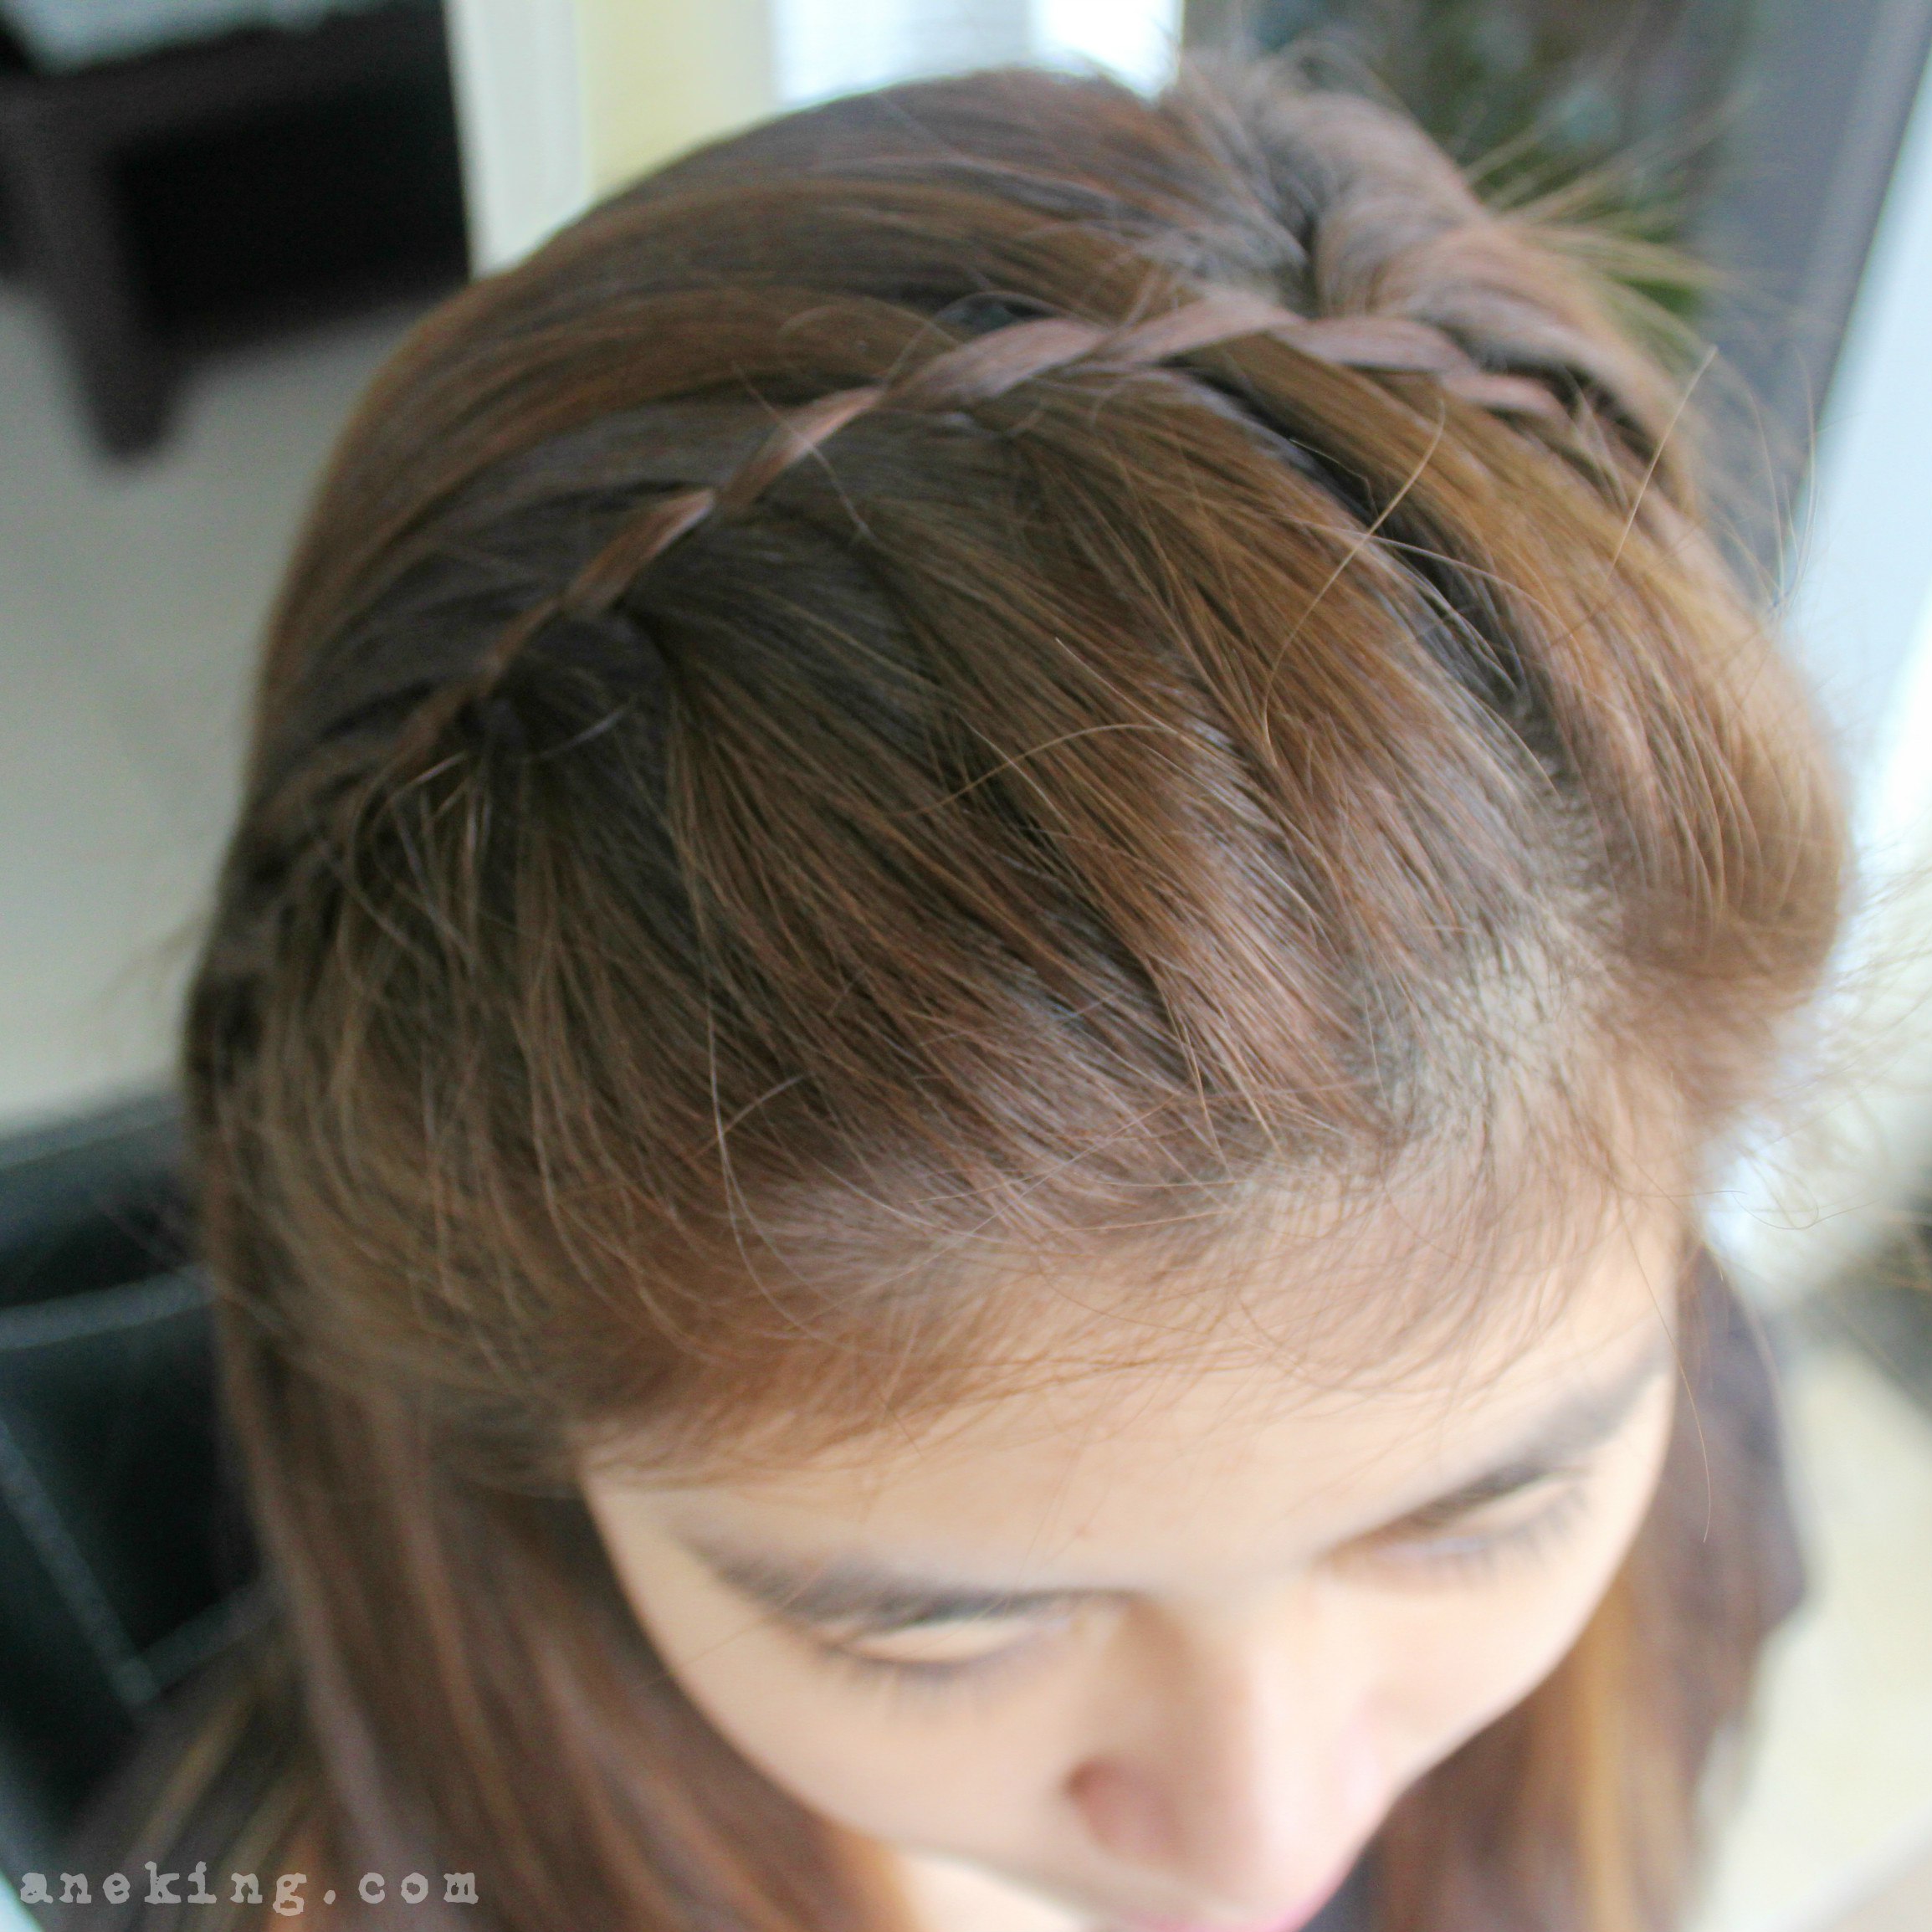
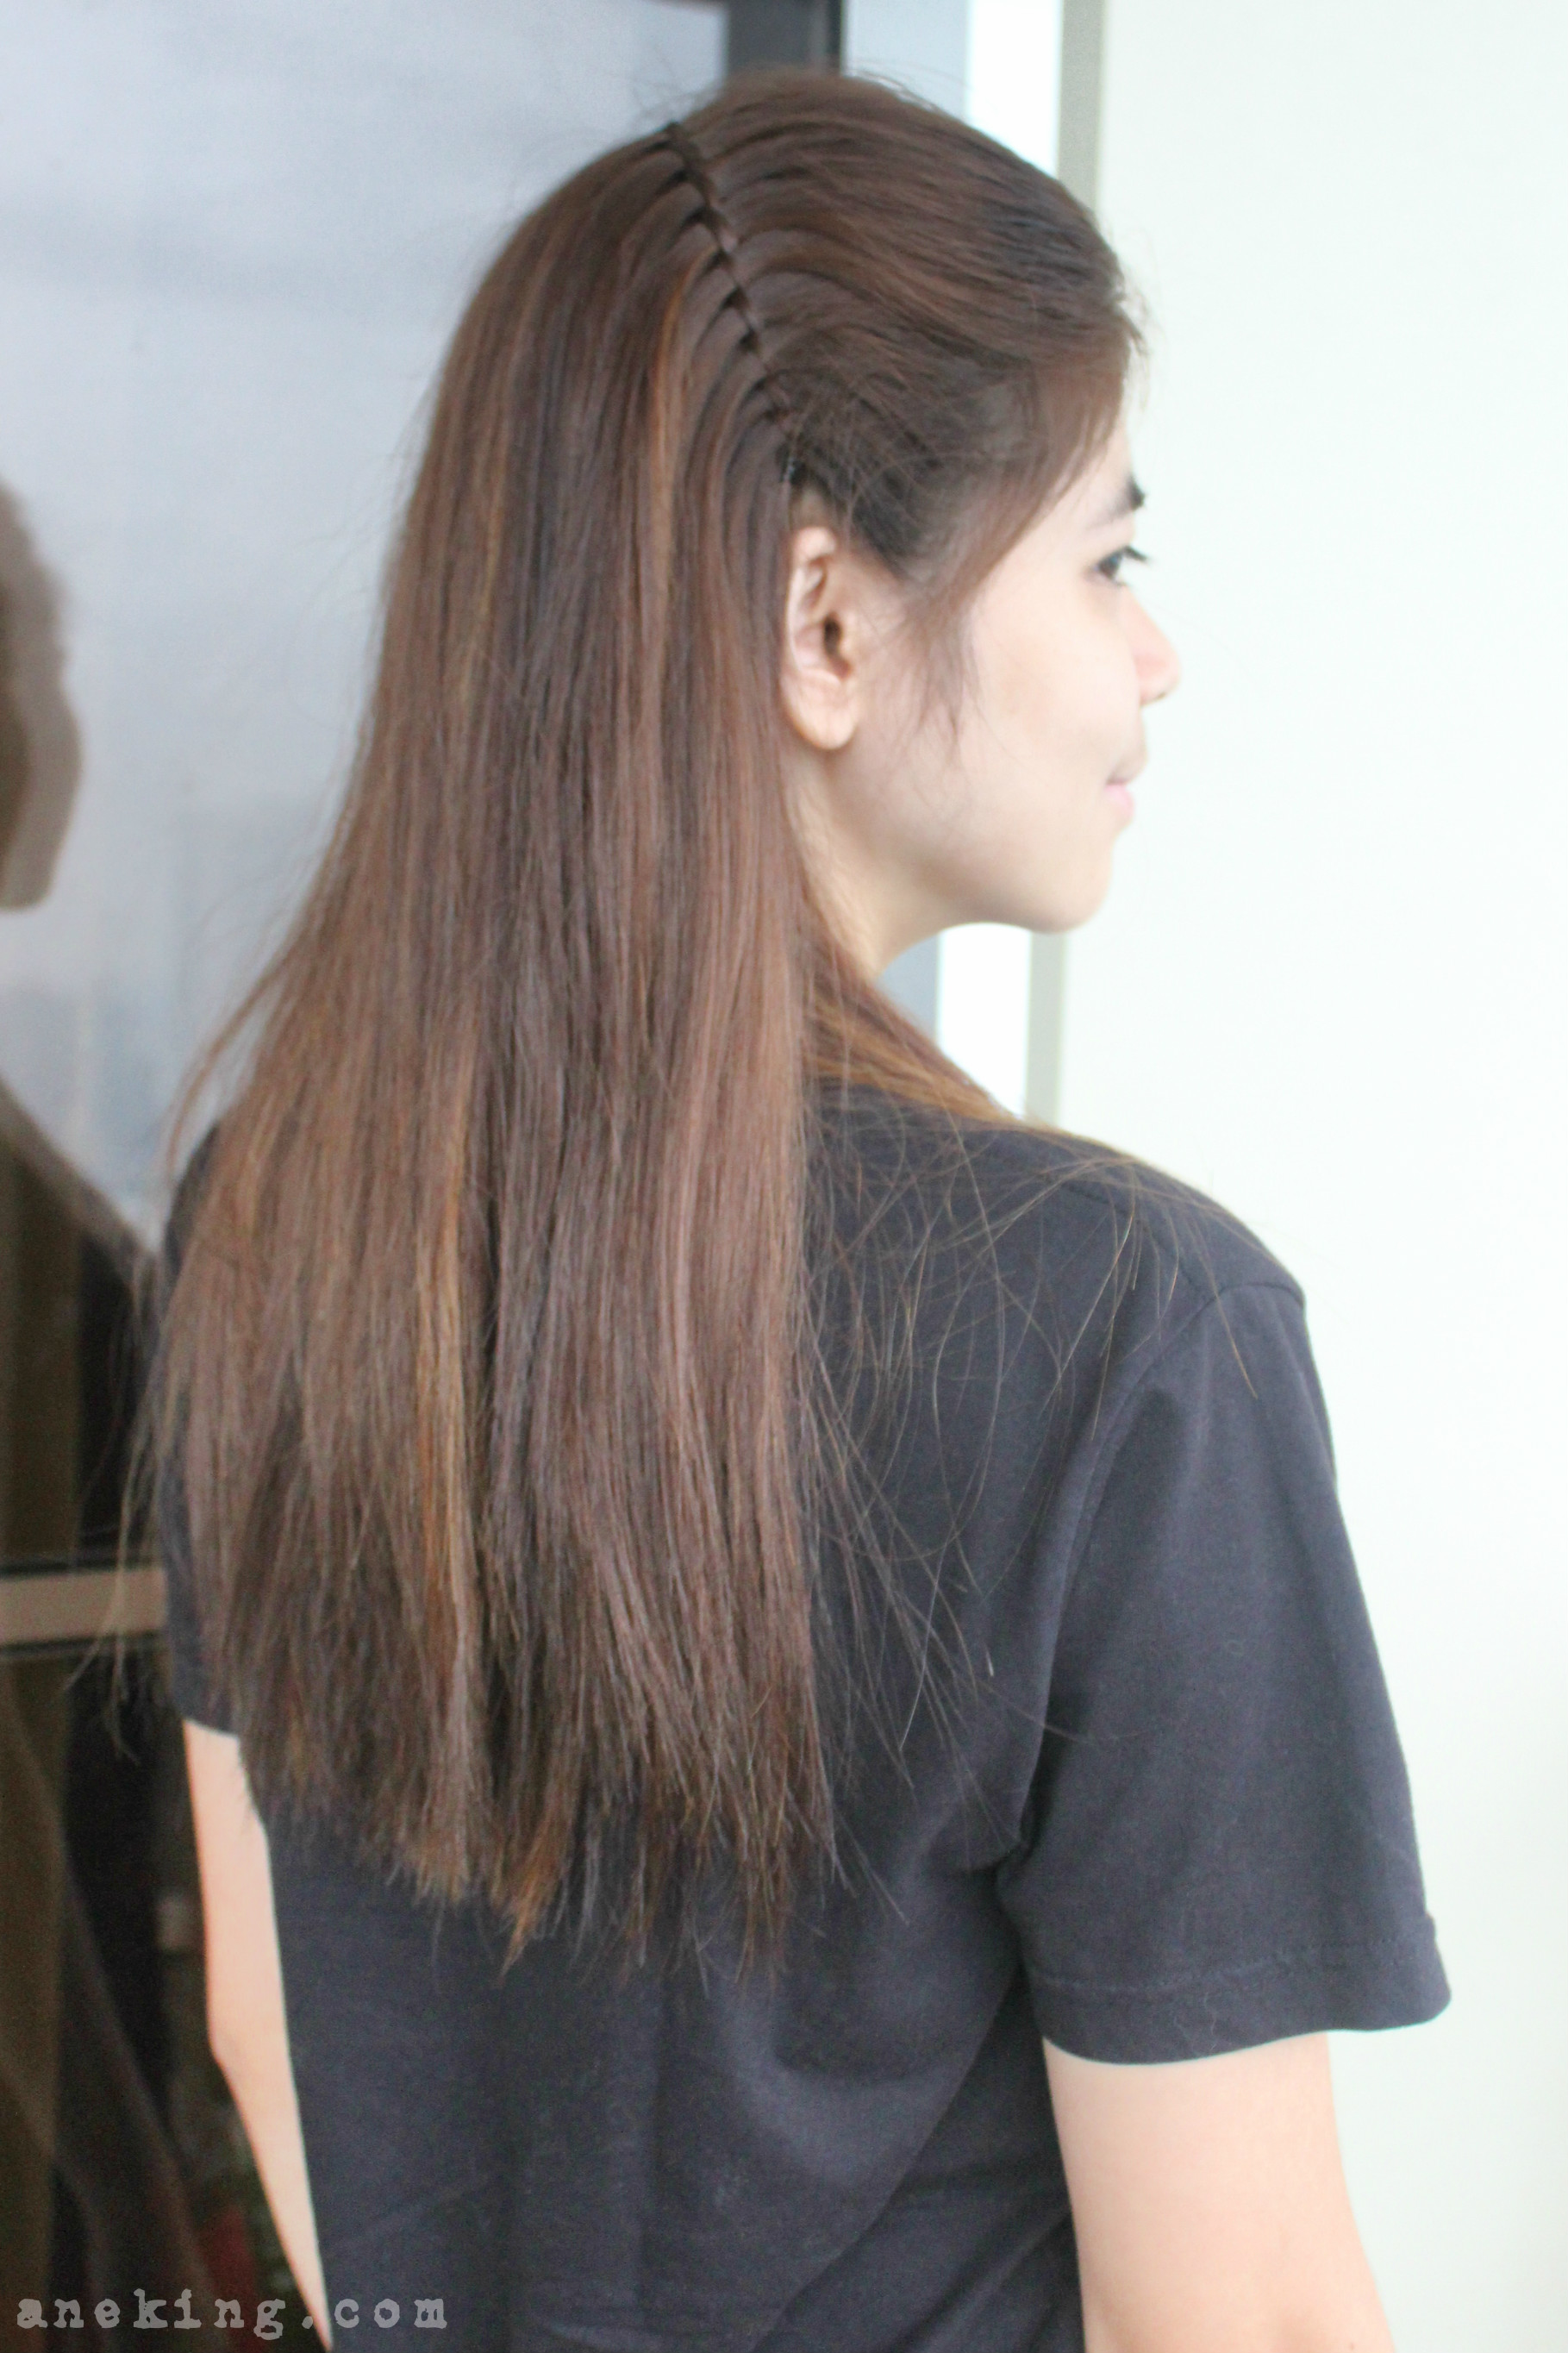
11. Once you’re done, you can now enjoy your waterfall headband braid.
I would like to thank Megan Acapulco and Eric Andrei Marcelino for helping me with the bun.

